Getting Started With 35mm Film
June 1, 2019
Film is magic – the way that it captures light, color, and detail.. just, magic.
I’ve always loved the film look but had no idea where to start. At first I just wanted a cheap point and shoot film camera that I could use for fun. I started talking to my dad abut it because he is an avid vintage collector – he is always on Ebay, always in pawn shops. He buys drums mostly to fix them up and resell them but he does the same with cameras occasionally as well. I mentioned that it would be nice to have one that I could use my camera lenses on but I wanted to dip my toes before I invested in a more expensive camera.
Fast forward a month to my birthday and I got a strange package on my doorstep. I cautiously opened it and found what looked like a Canon DSLR but was a film camera. My dad had found a Canon Elan 7 35mm film camera and sent it to me for my birthday (because he’s the best + could tell how excited I was about it) and I immediately went to Google to learn everything I could about how to shoot my first roll of film.

Below you’ll find a list of tips that I wish were easily accessible when I was researching and figuring out how the heck to shoot film:
- First up: your camera! As mentioned above I have the Canon Elan 7 35mm camera and I absolutely love it. Another very popular option would be the Canon 1V. It’s definitely more of an investment but worth it. When looking to buy a camera, my #1 recommendation would be sites like KEH Camera or B&H Photo. Look at their ‘used’ section! Facebook Groups are also a great place to look: Mastin Labs buy + trade, Canon 1v, Film Photo Gear, etc. Also Ebay (make sure they have really great seller ratings) or Etsy.
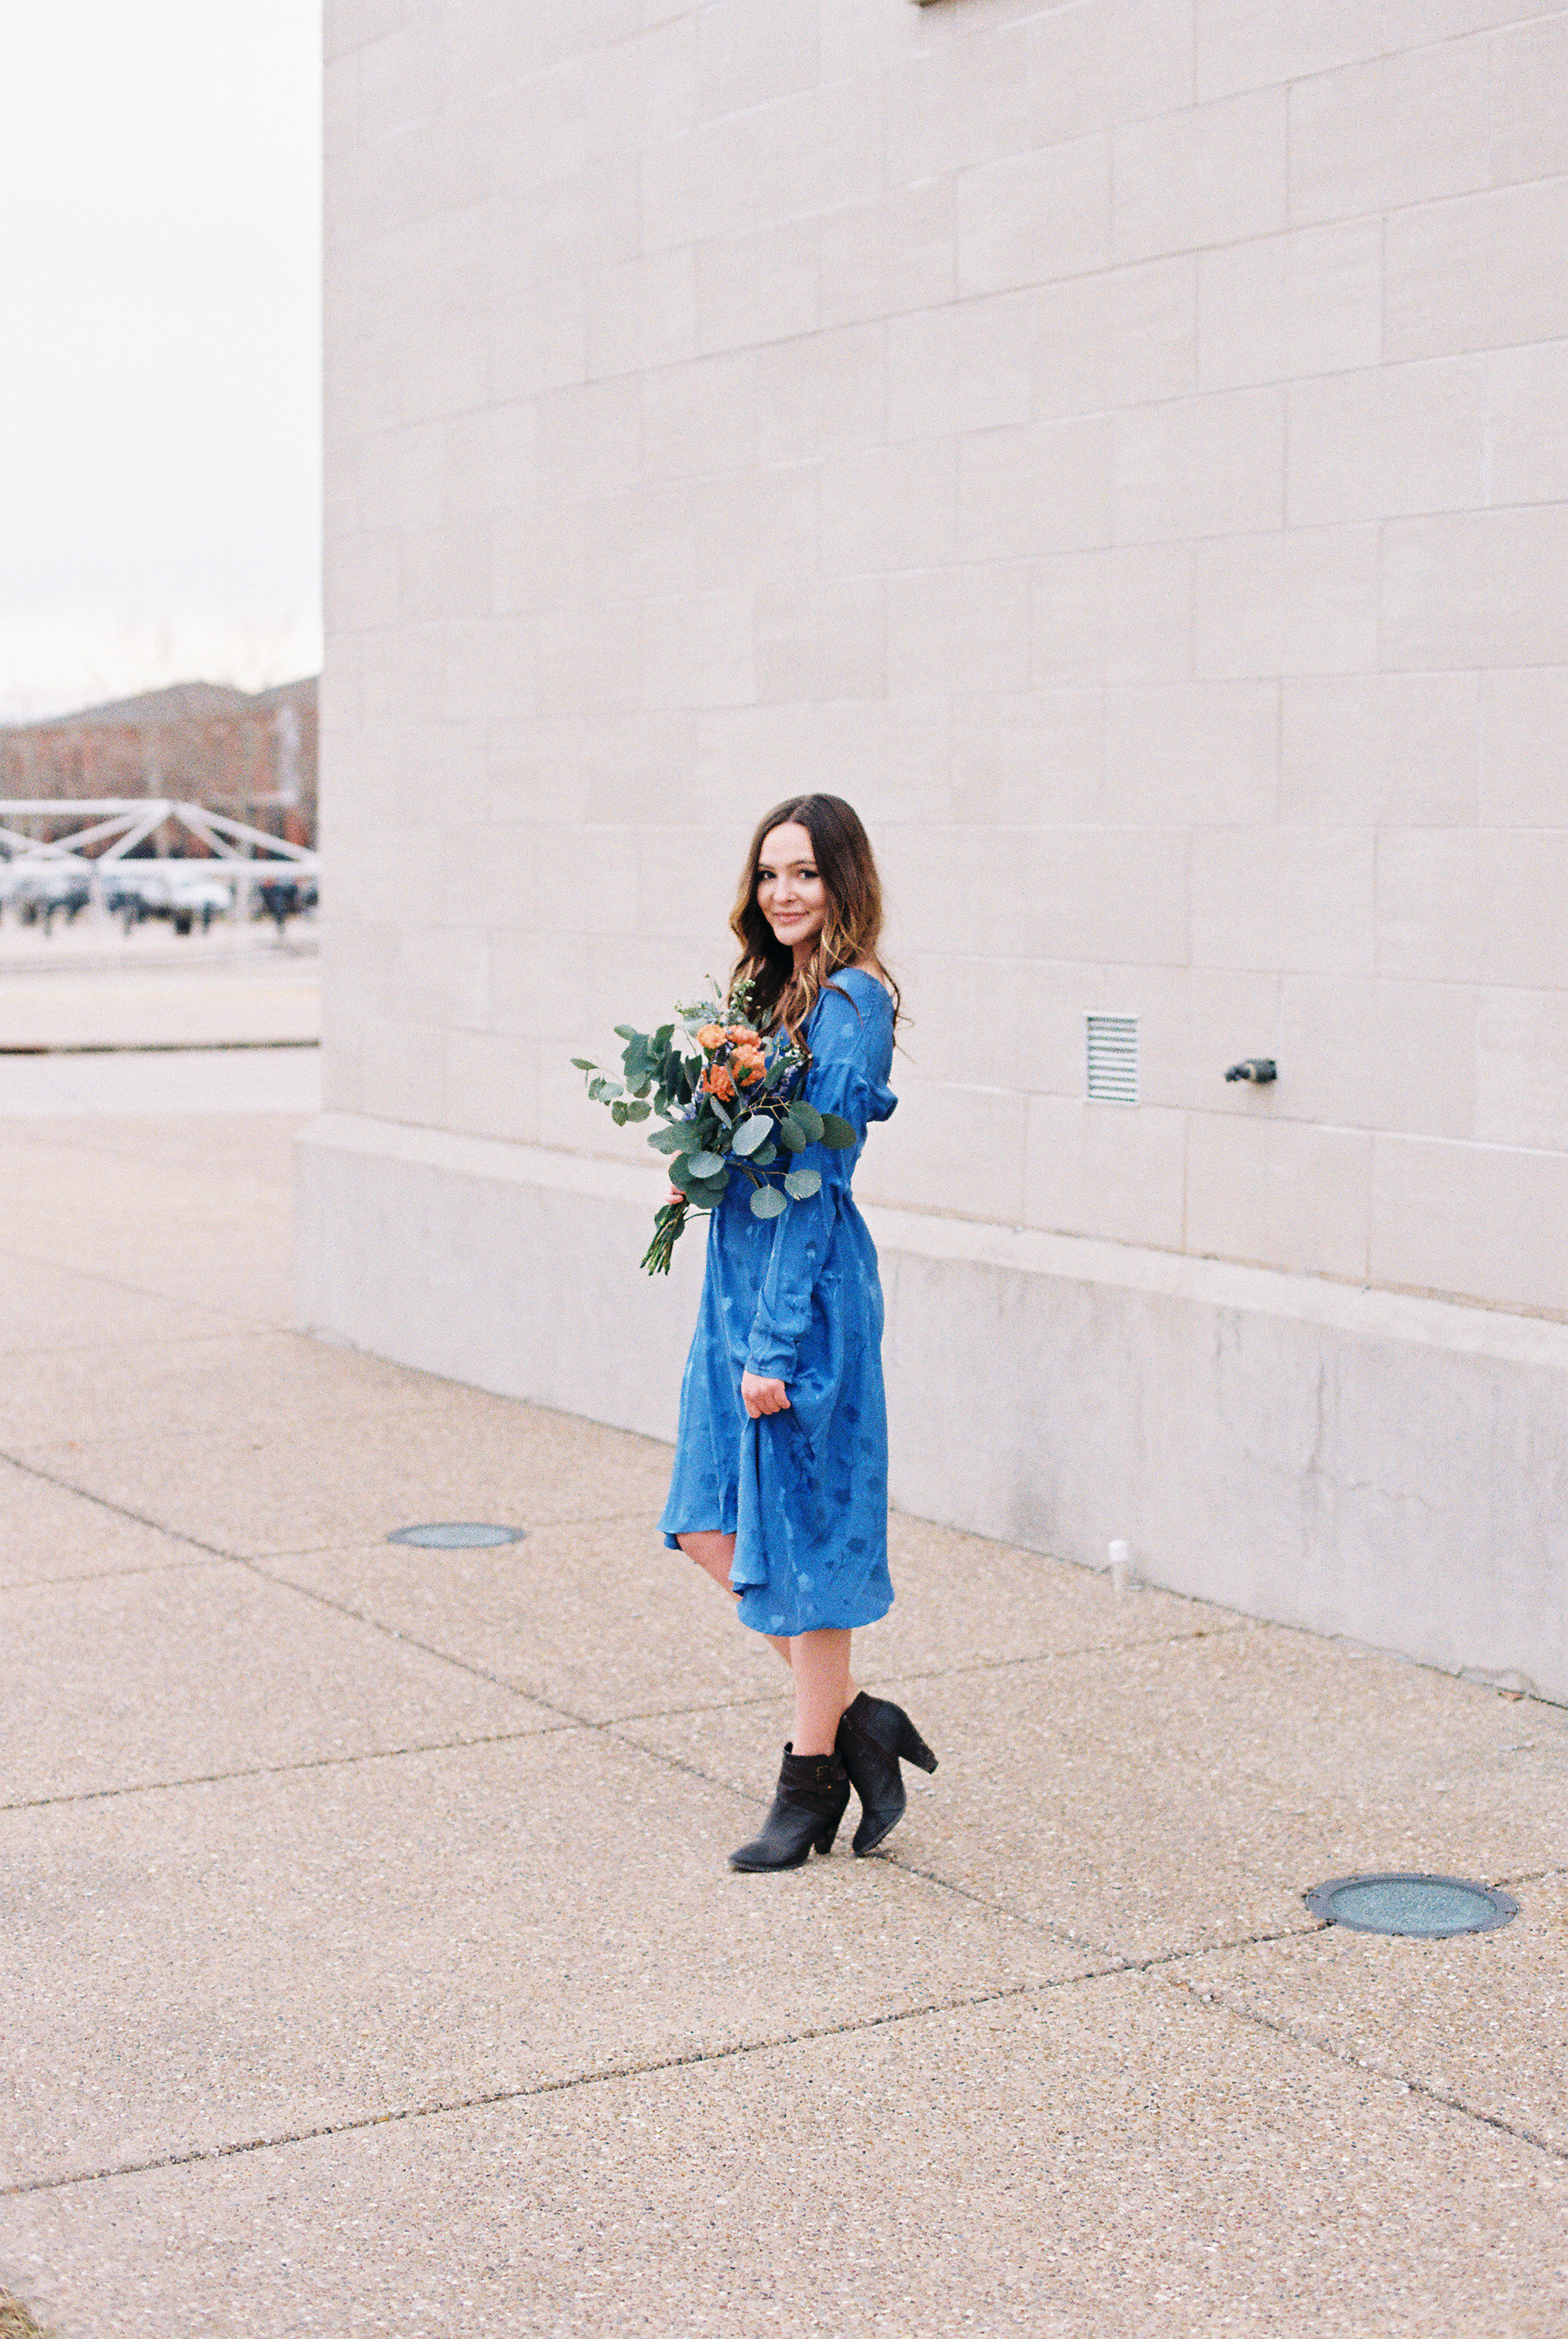
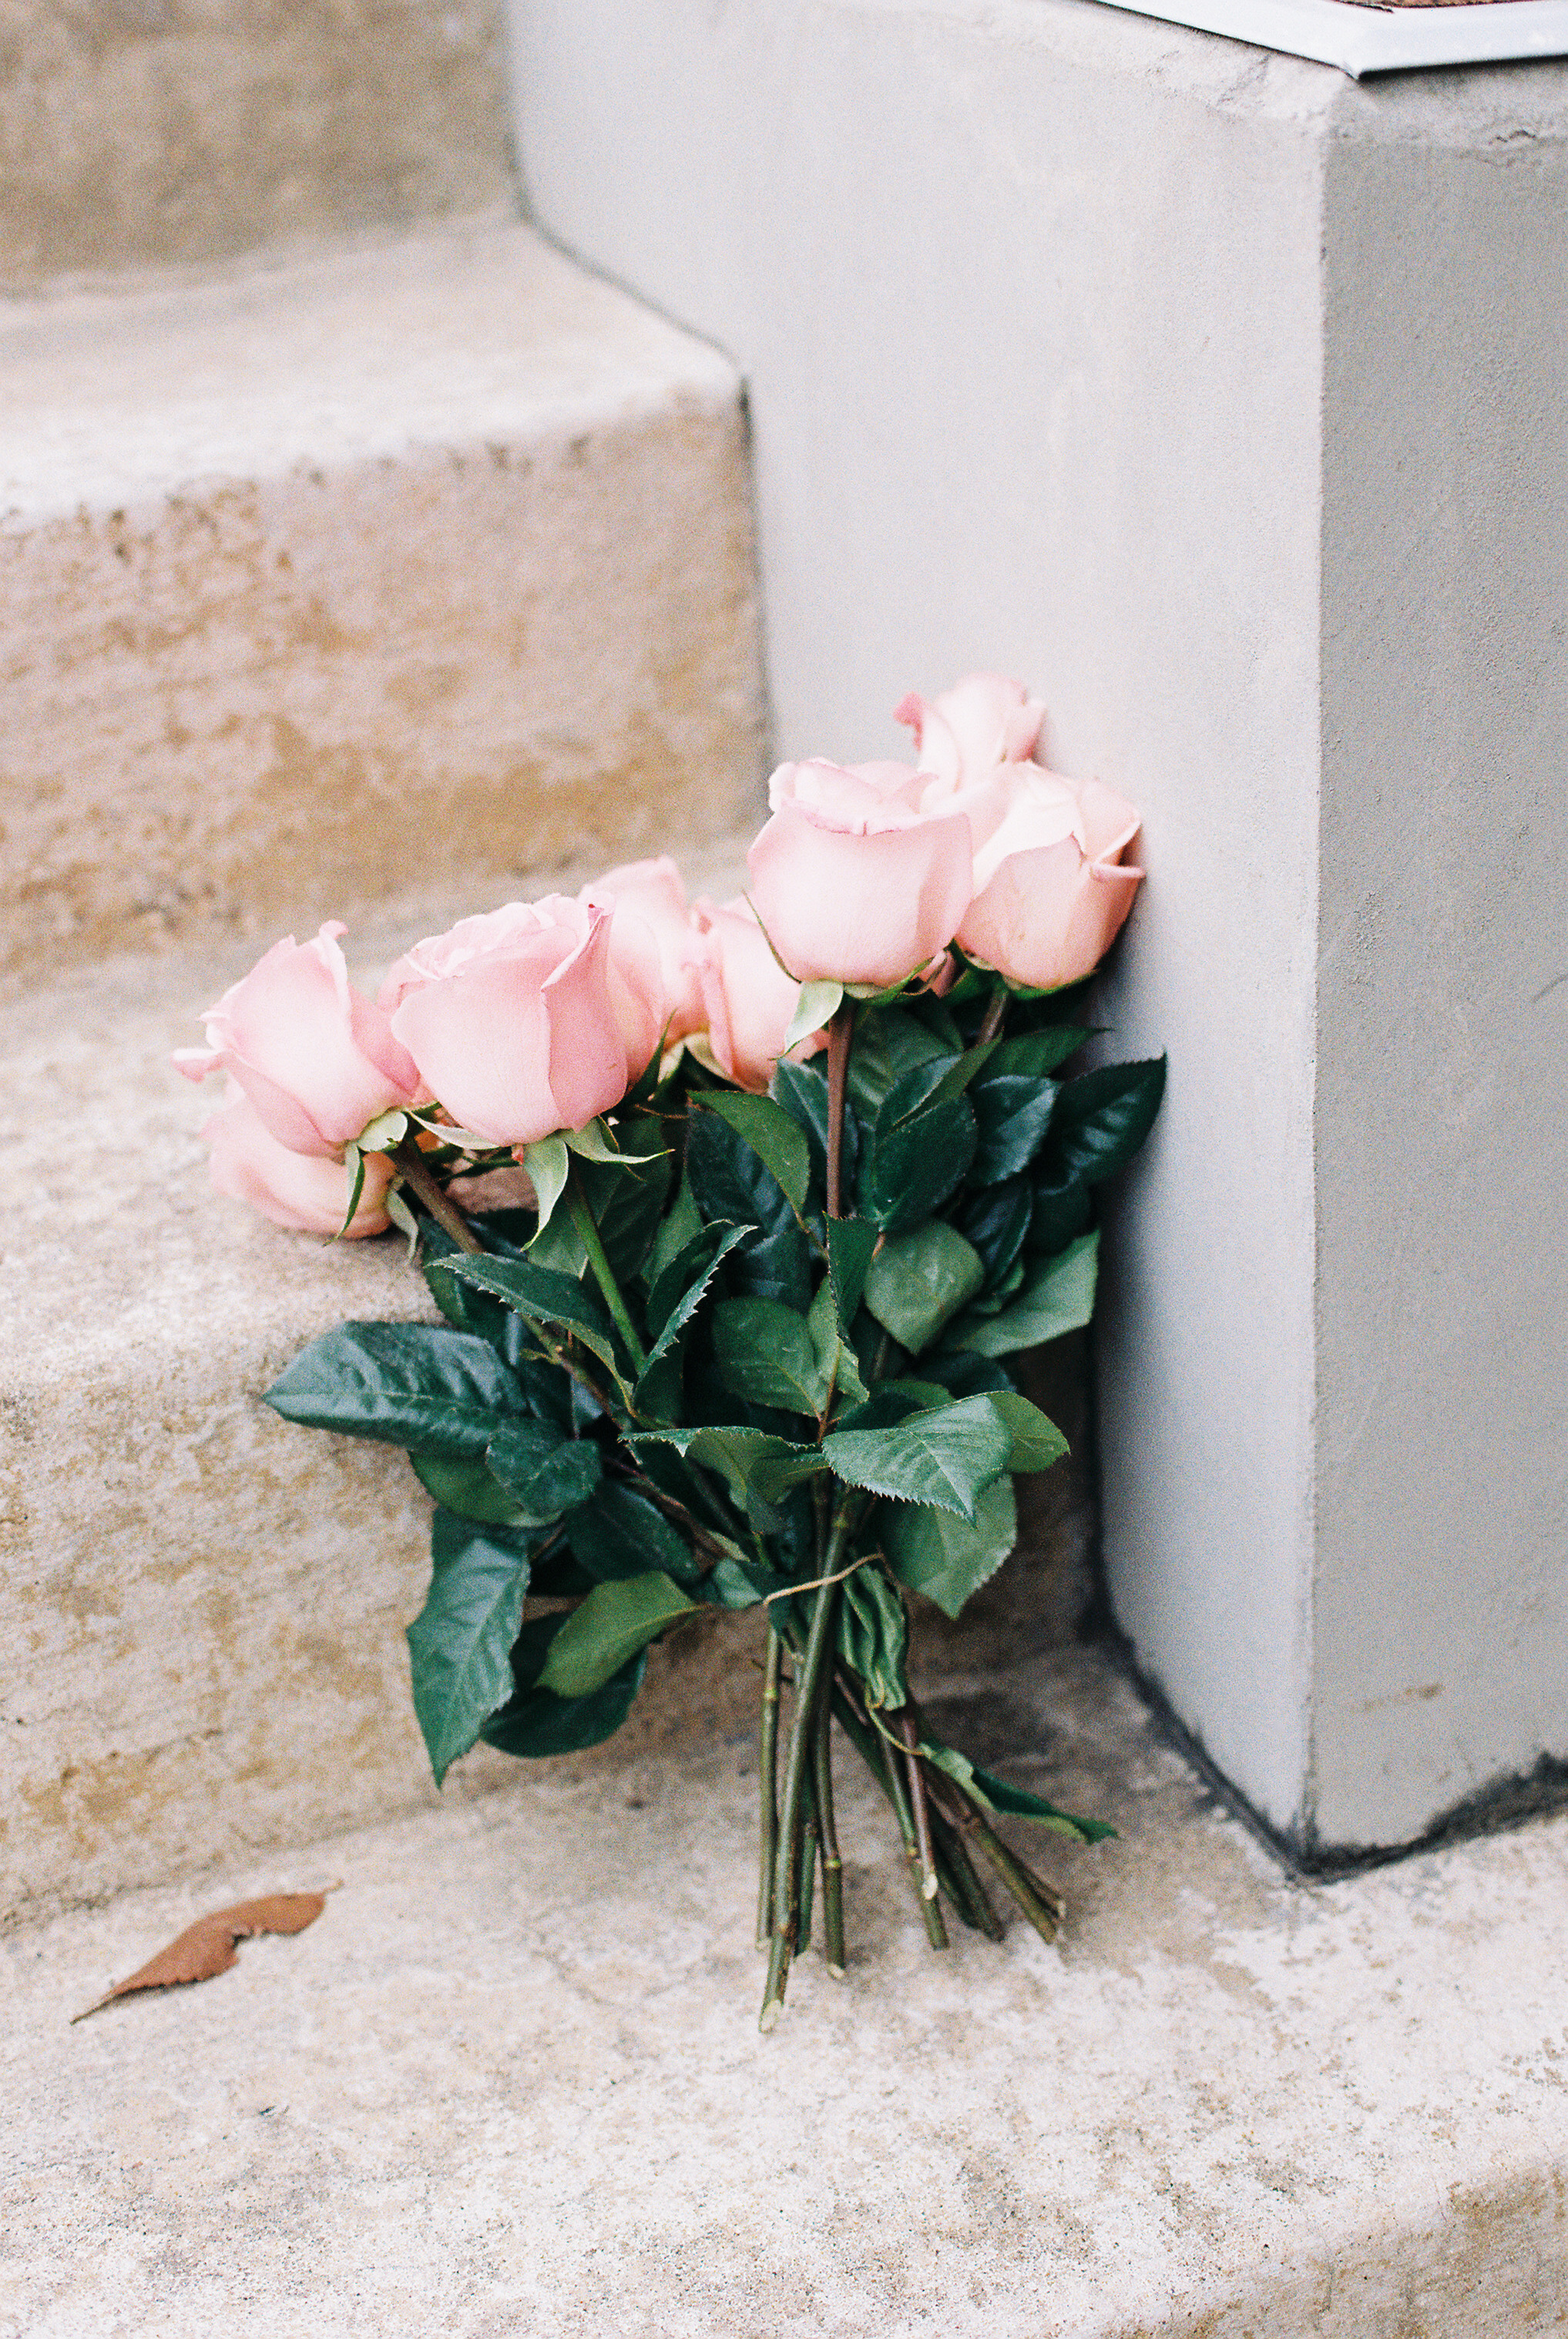
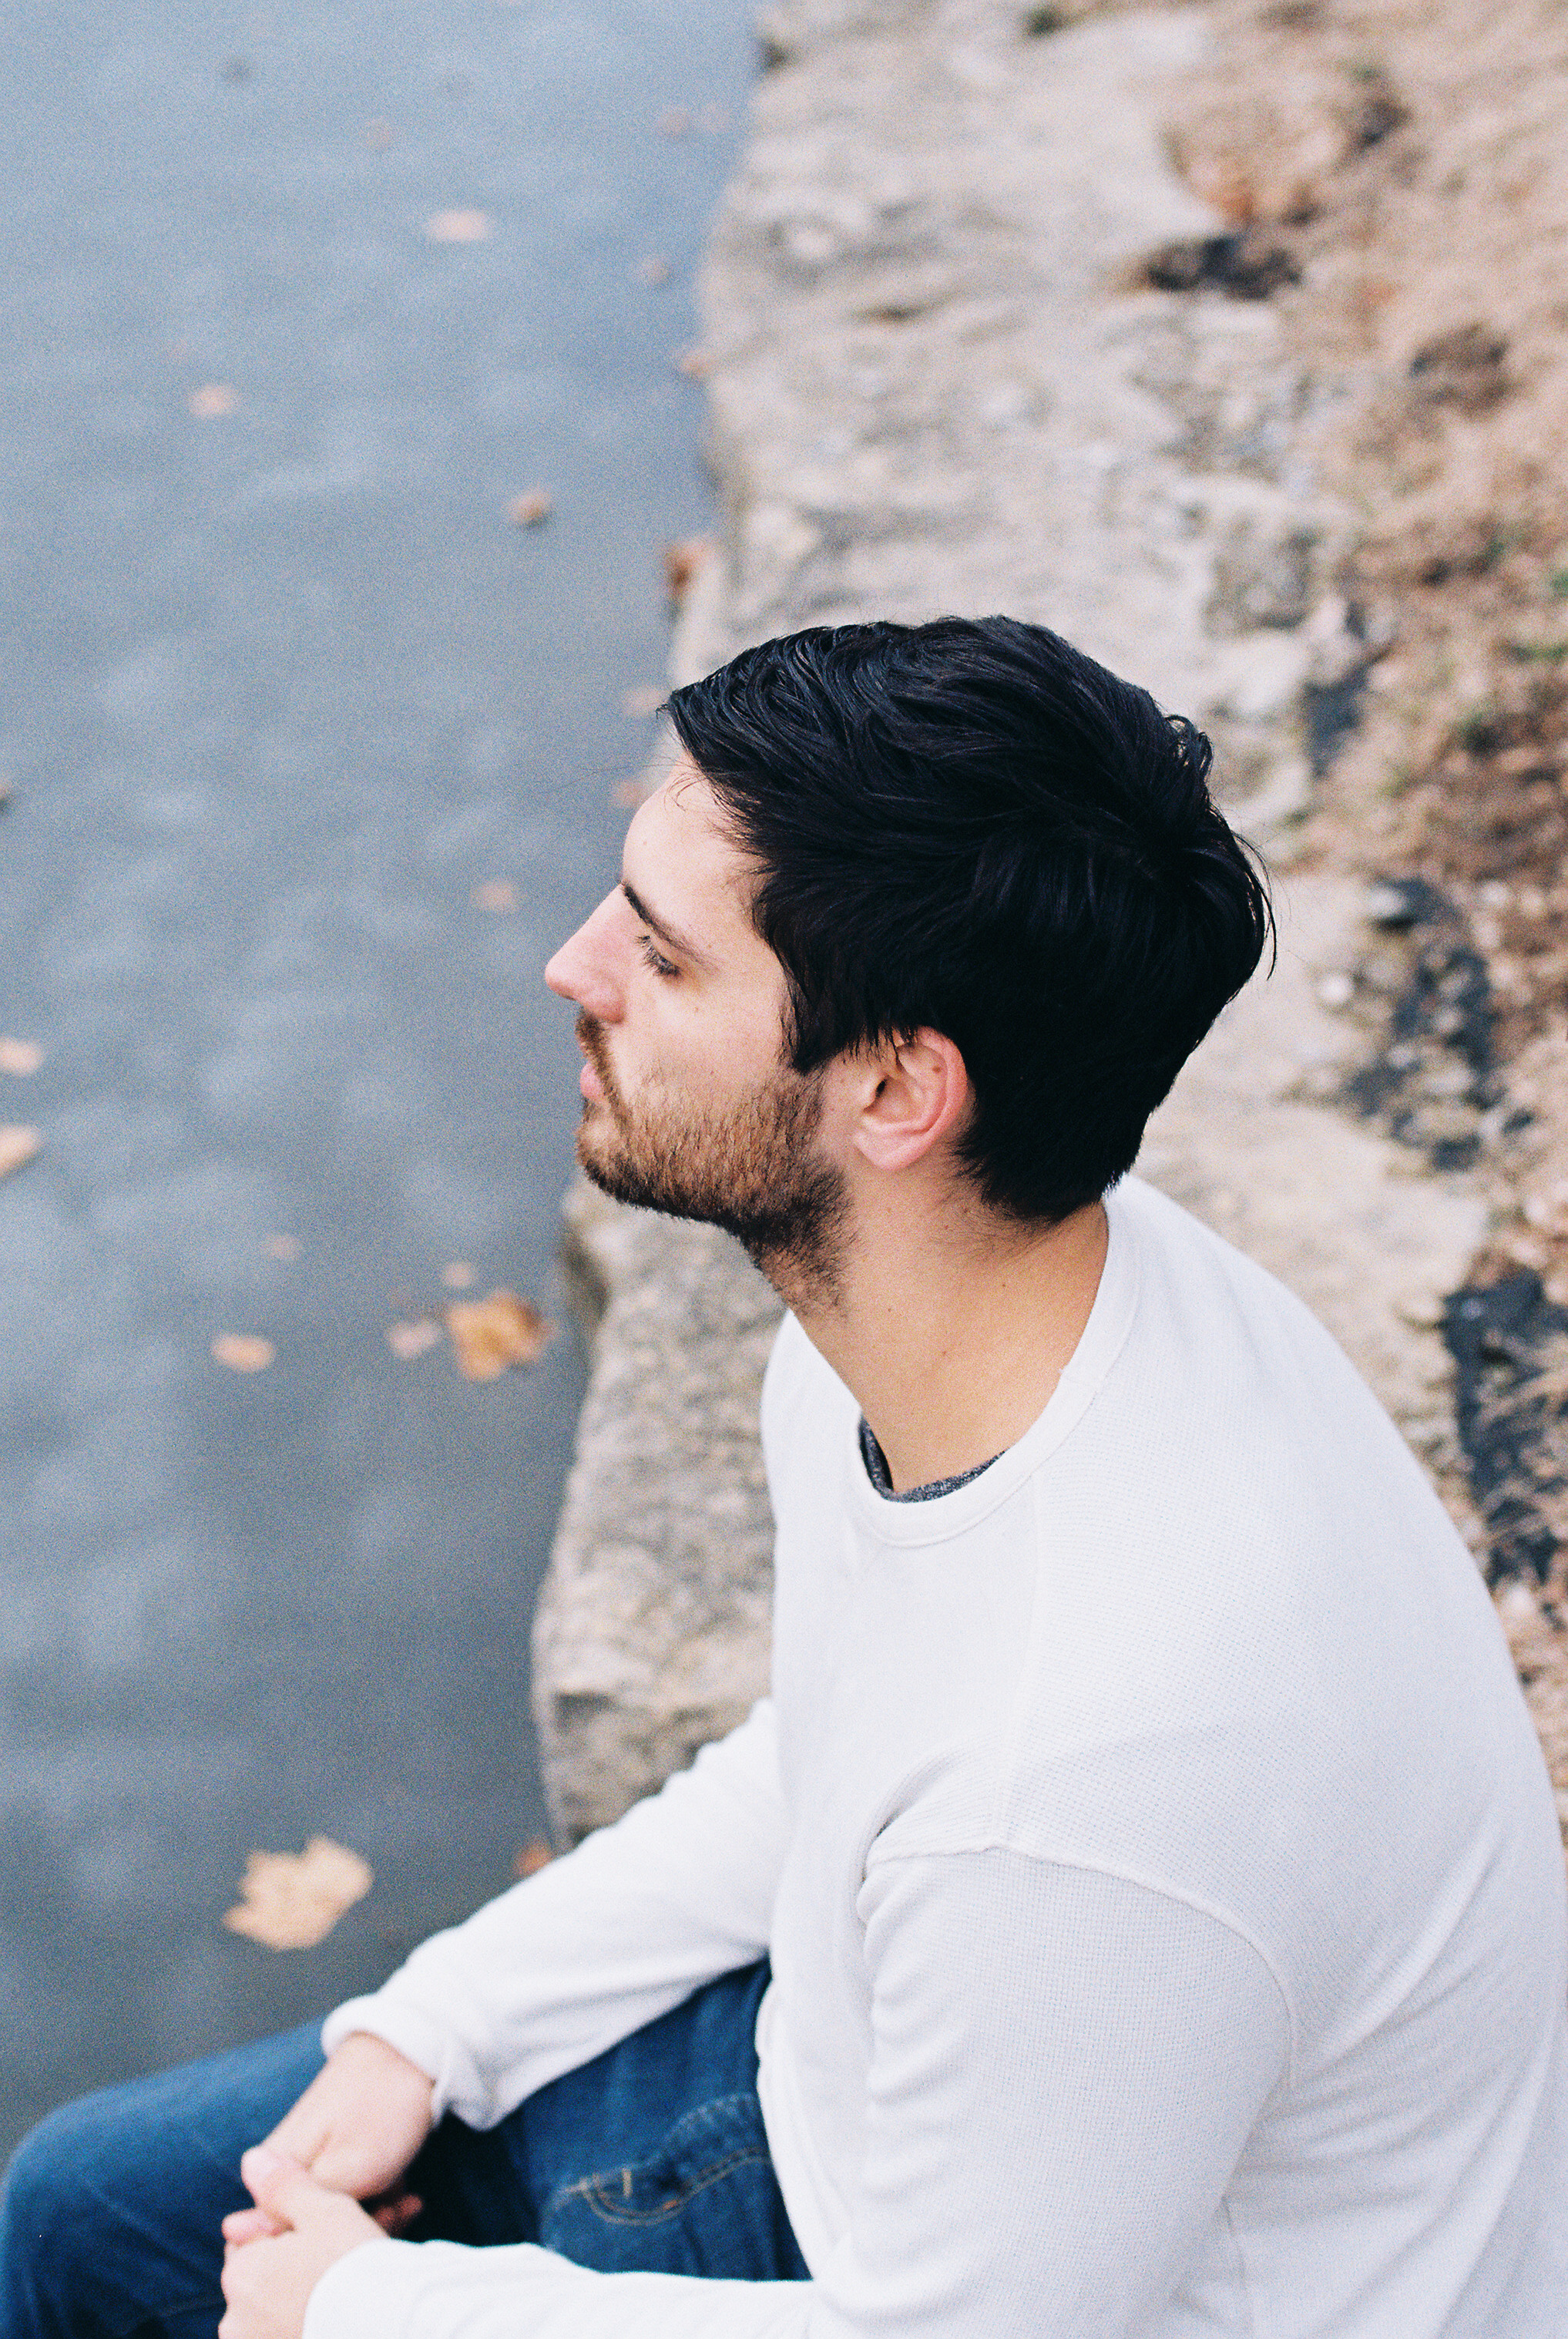
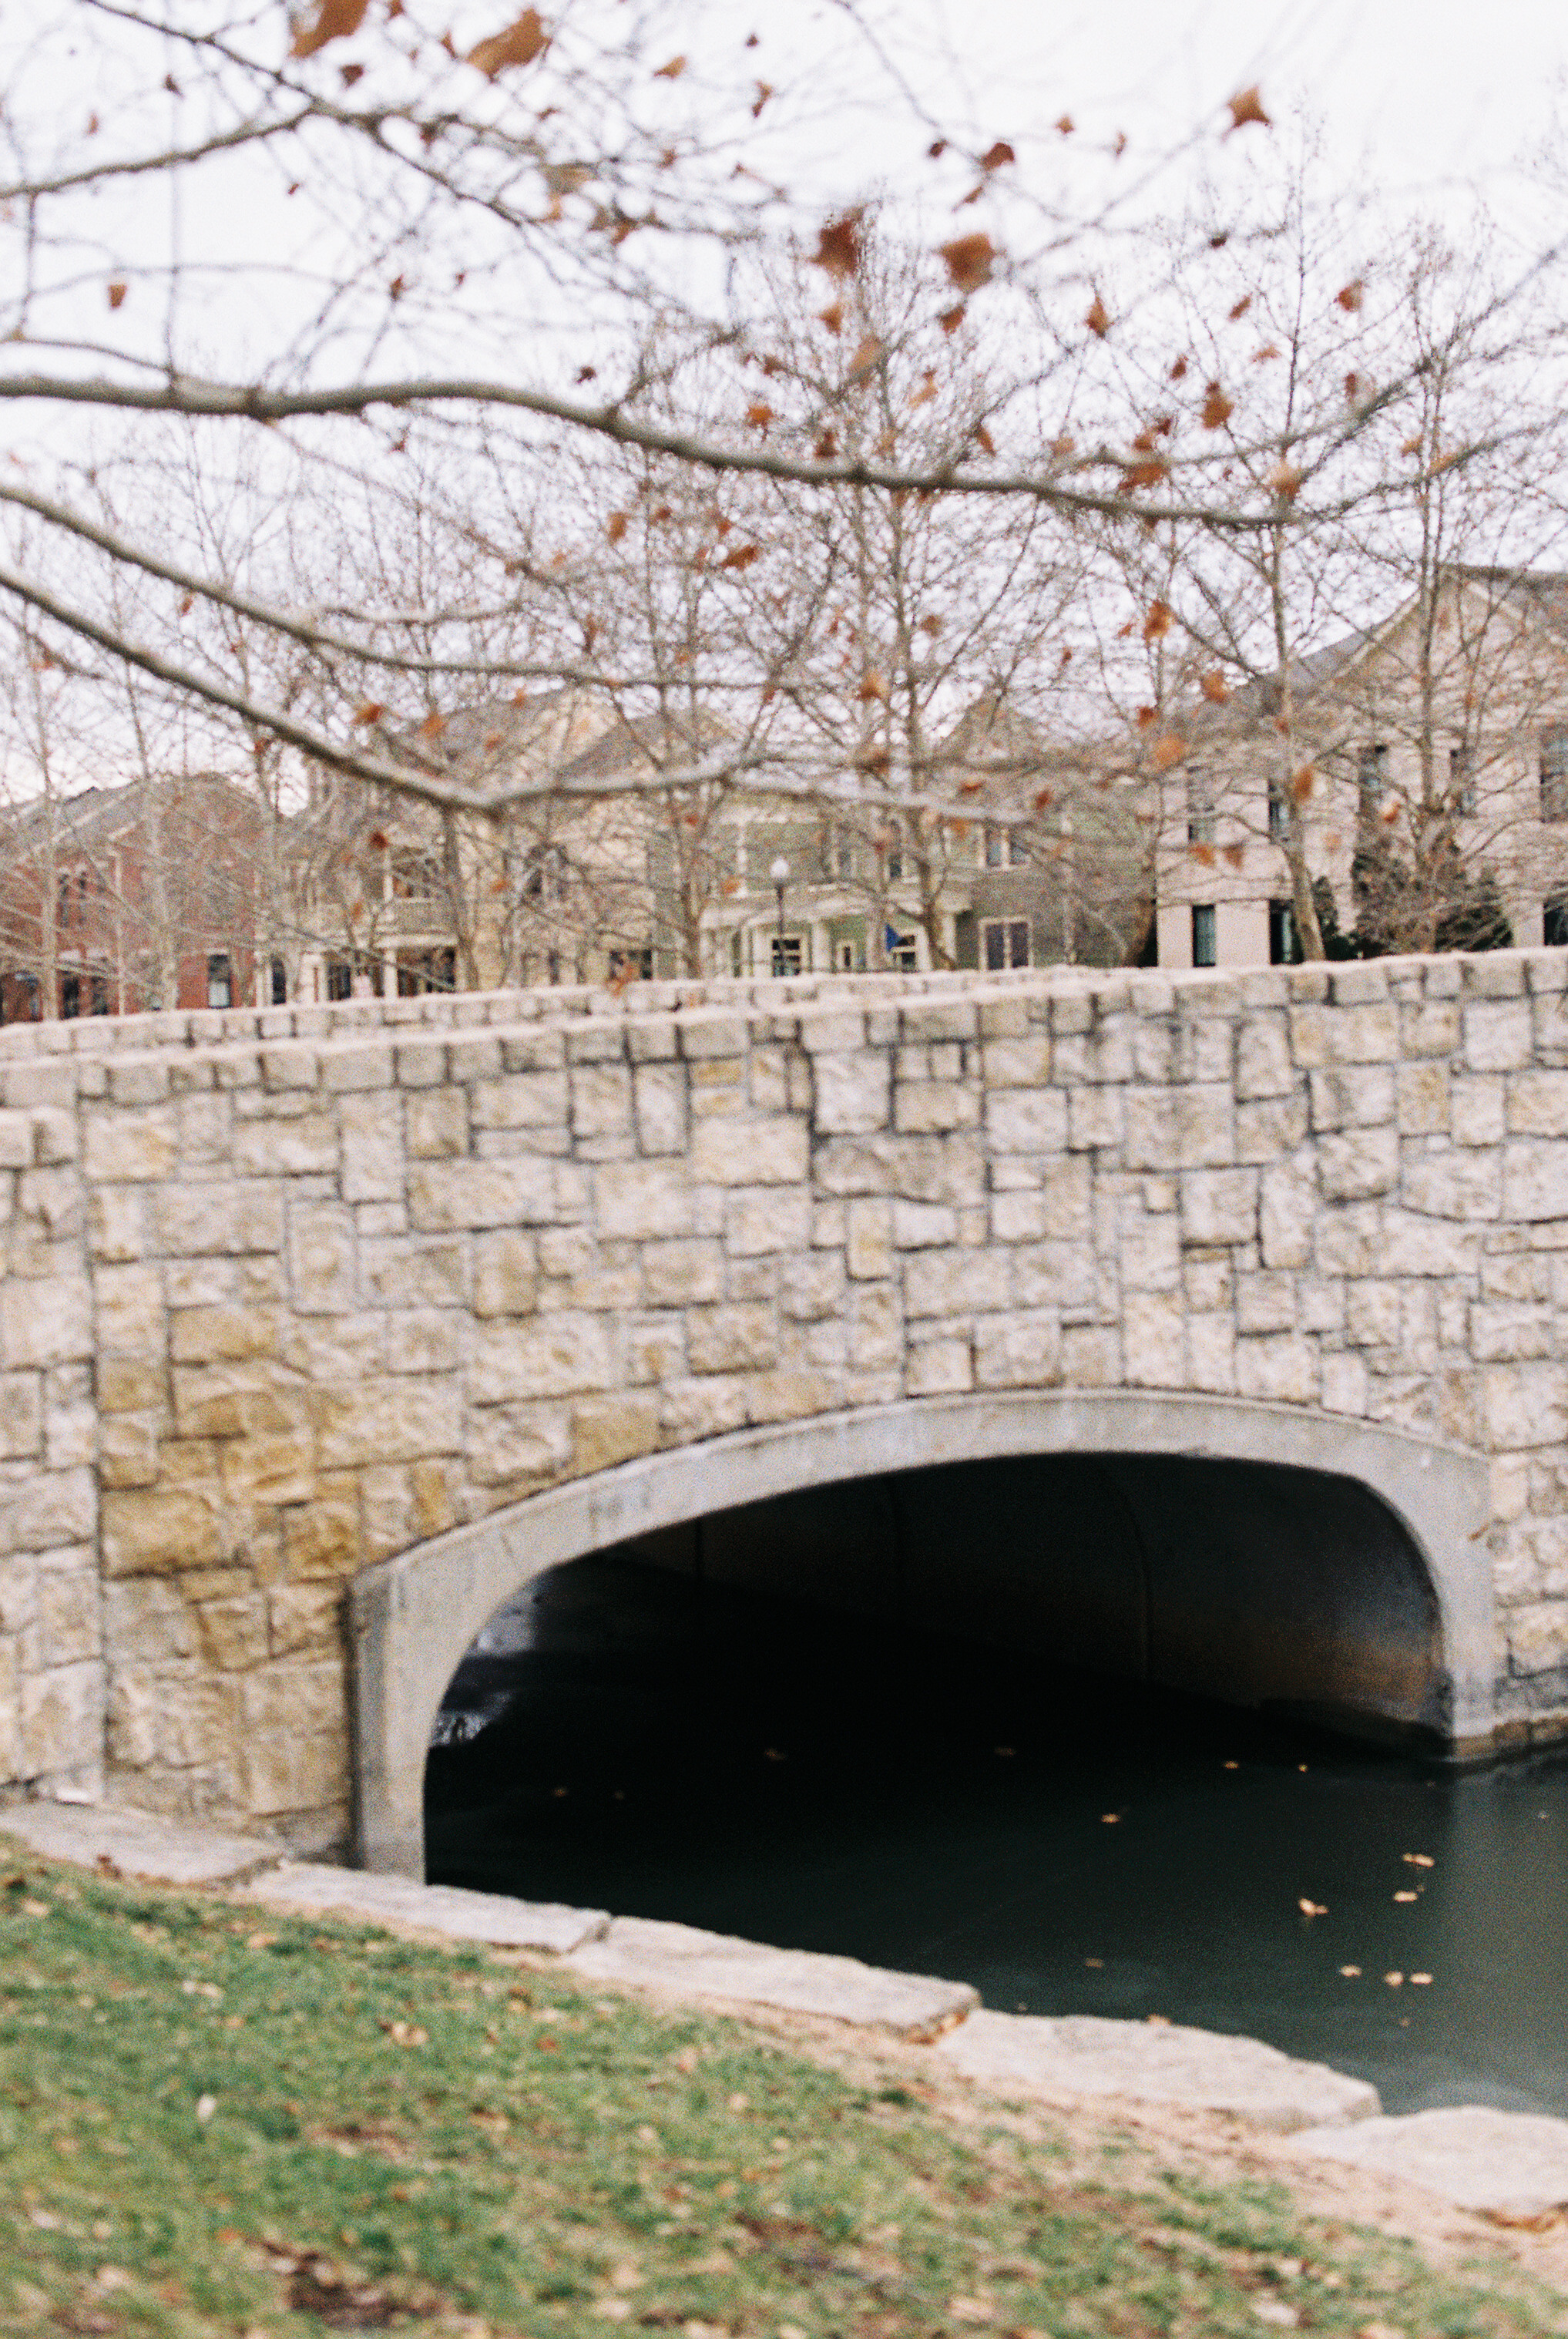
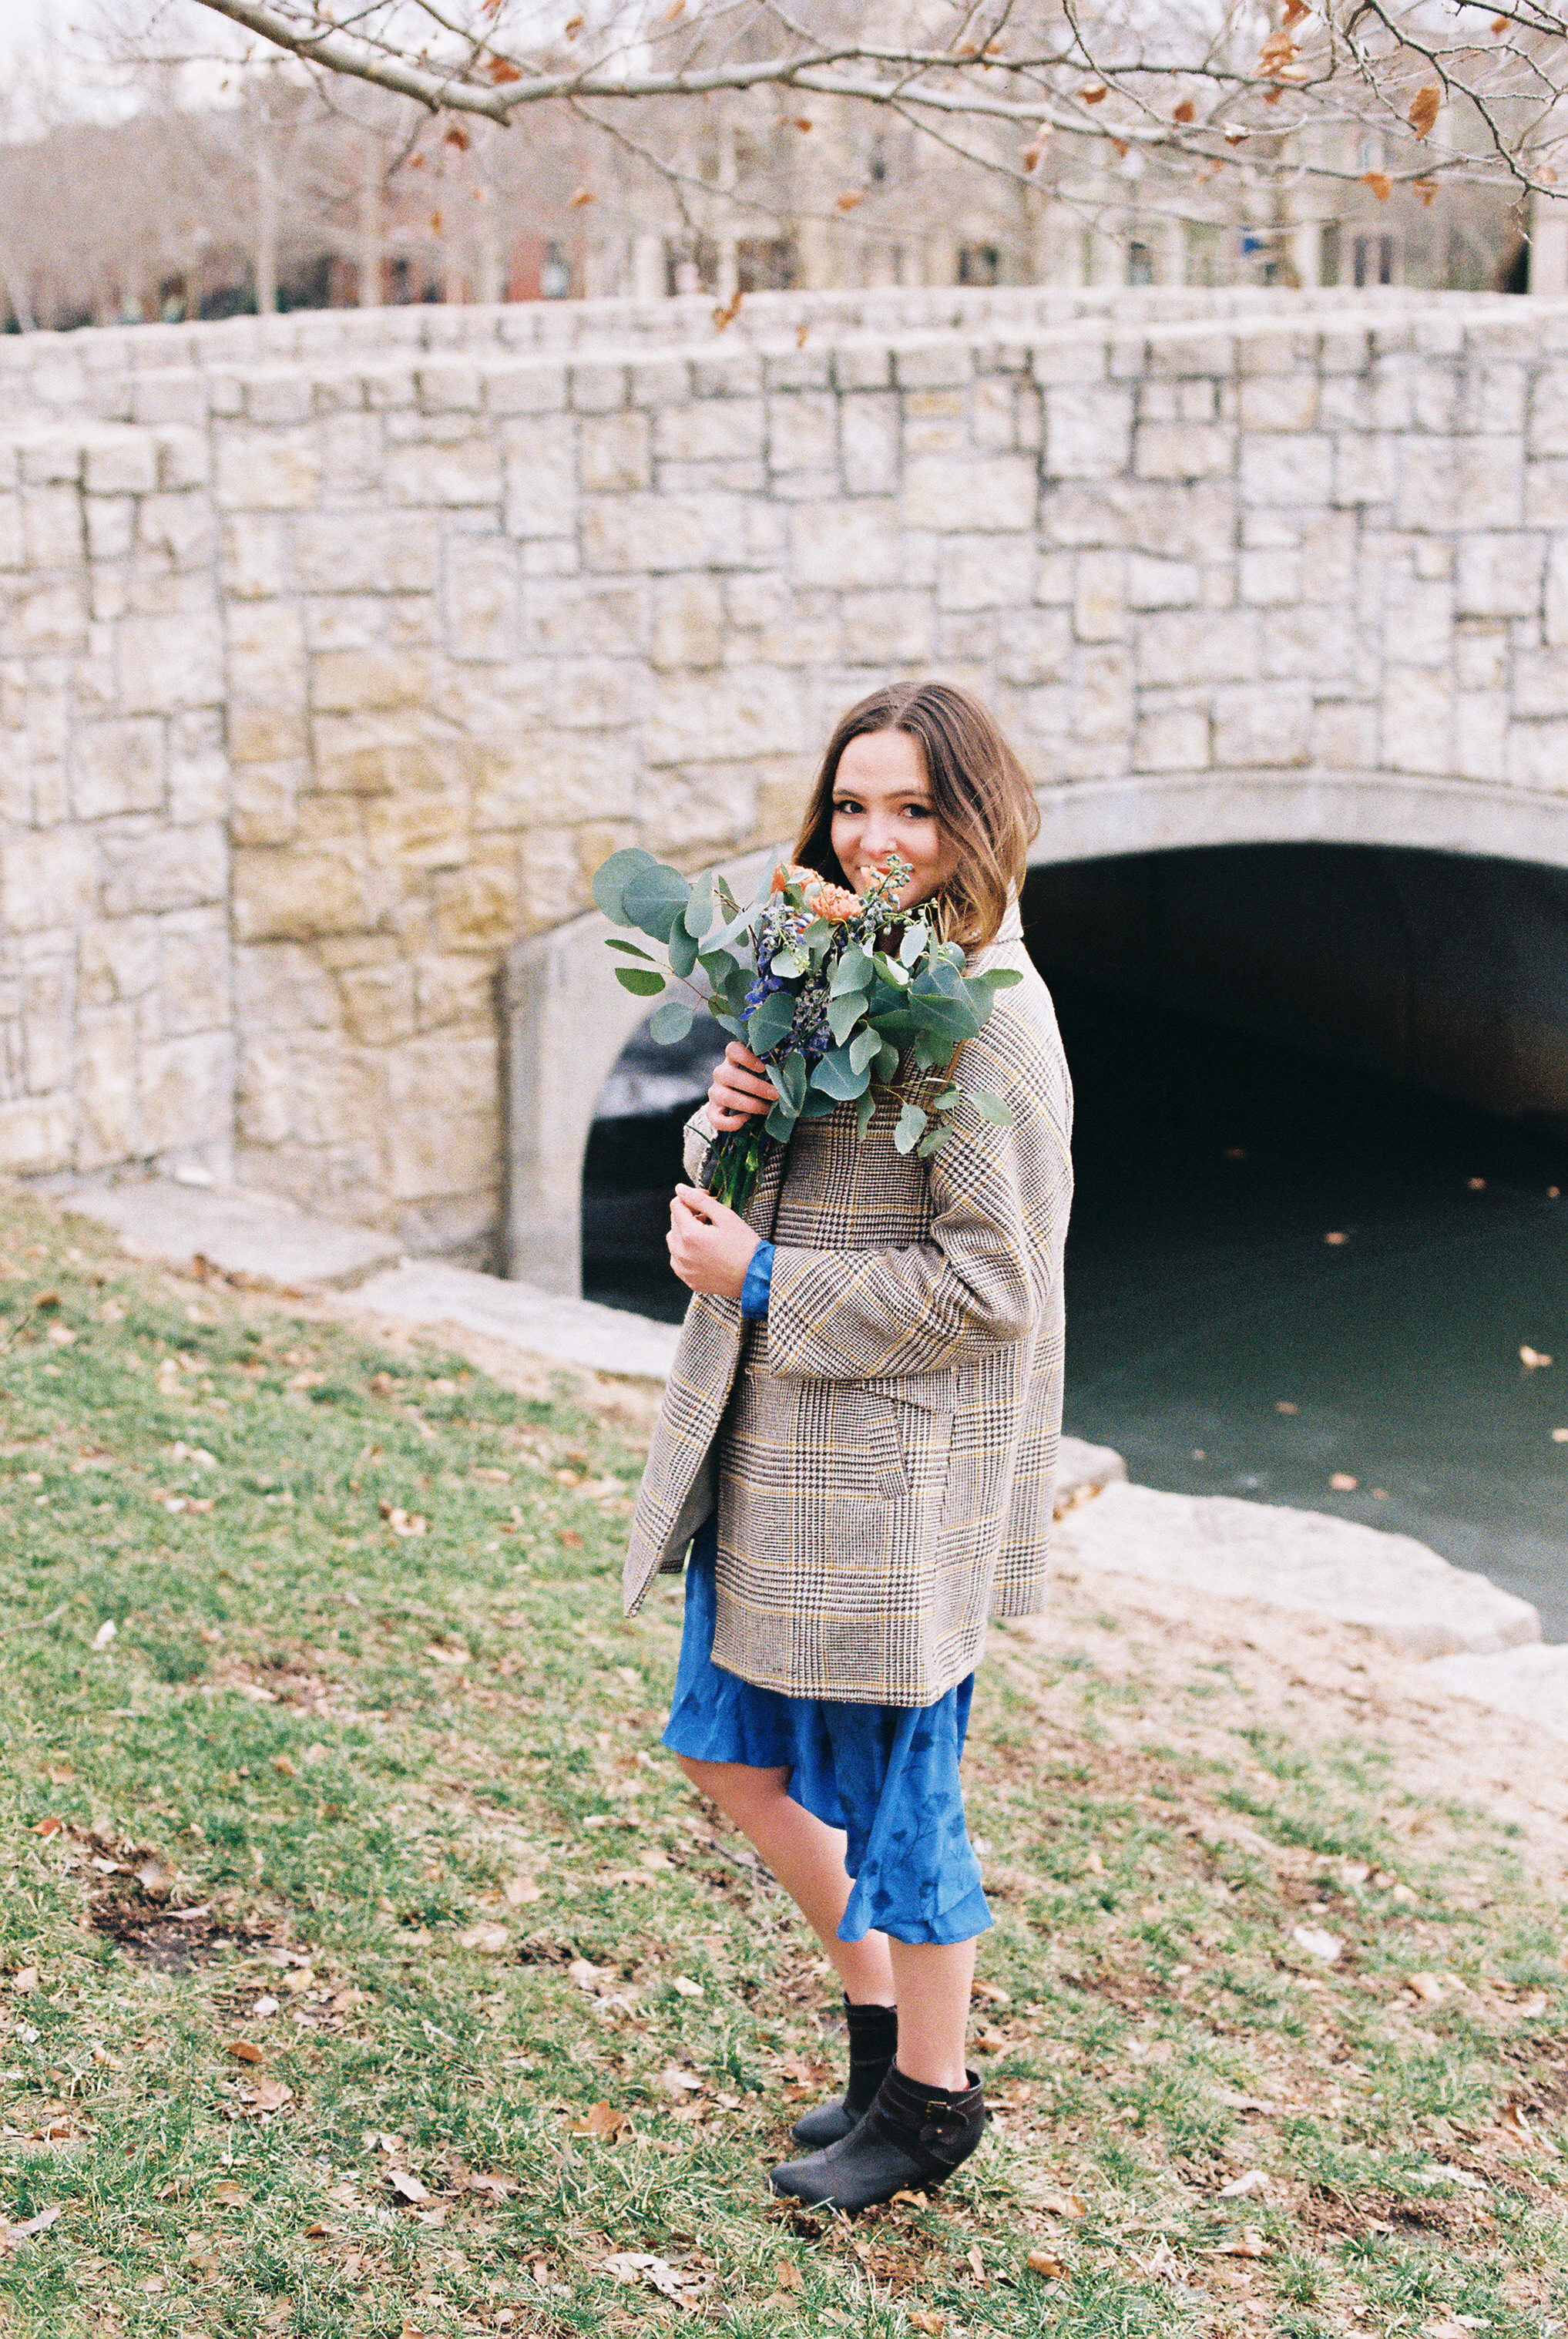
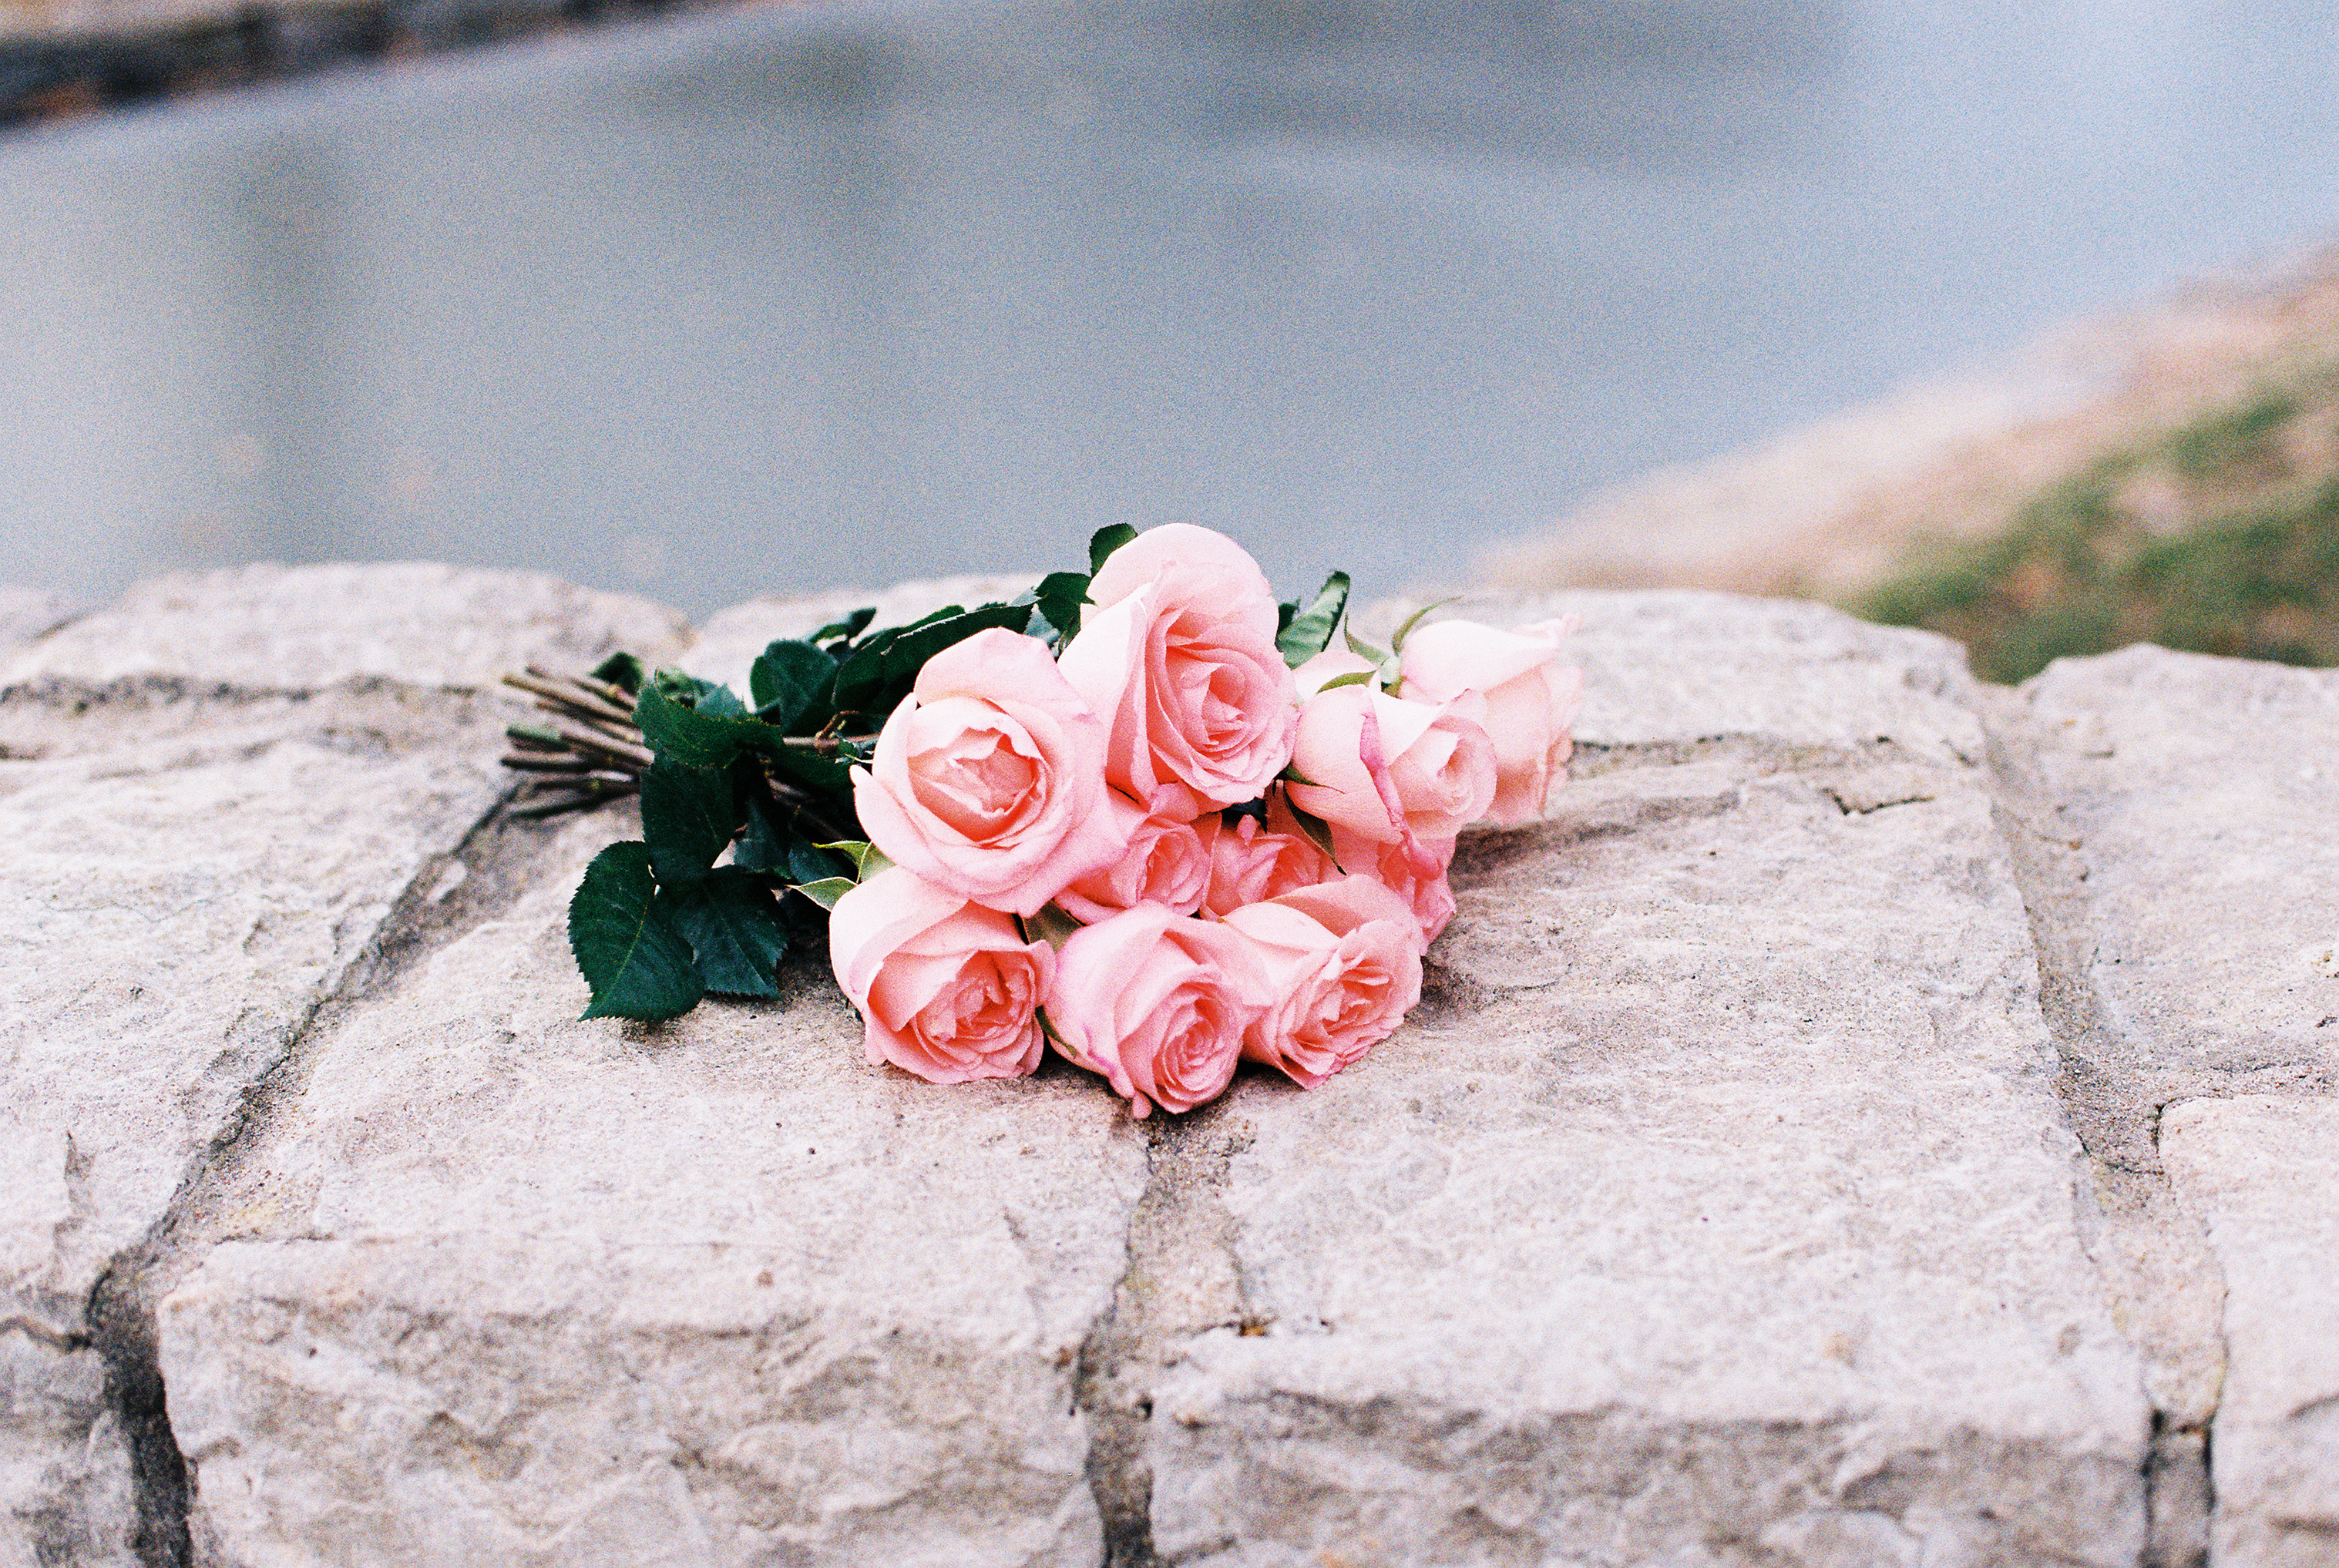
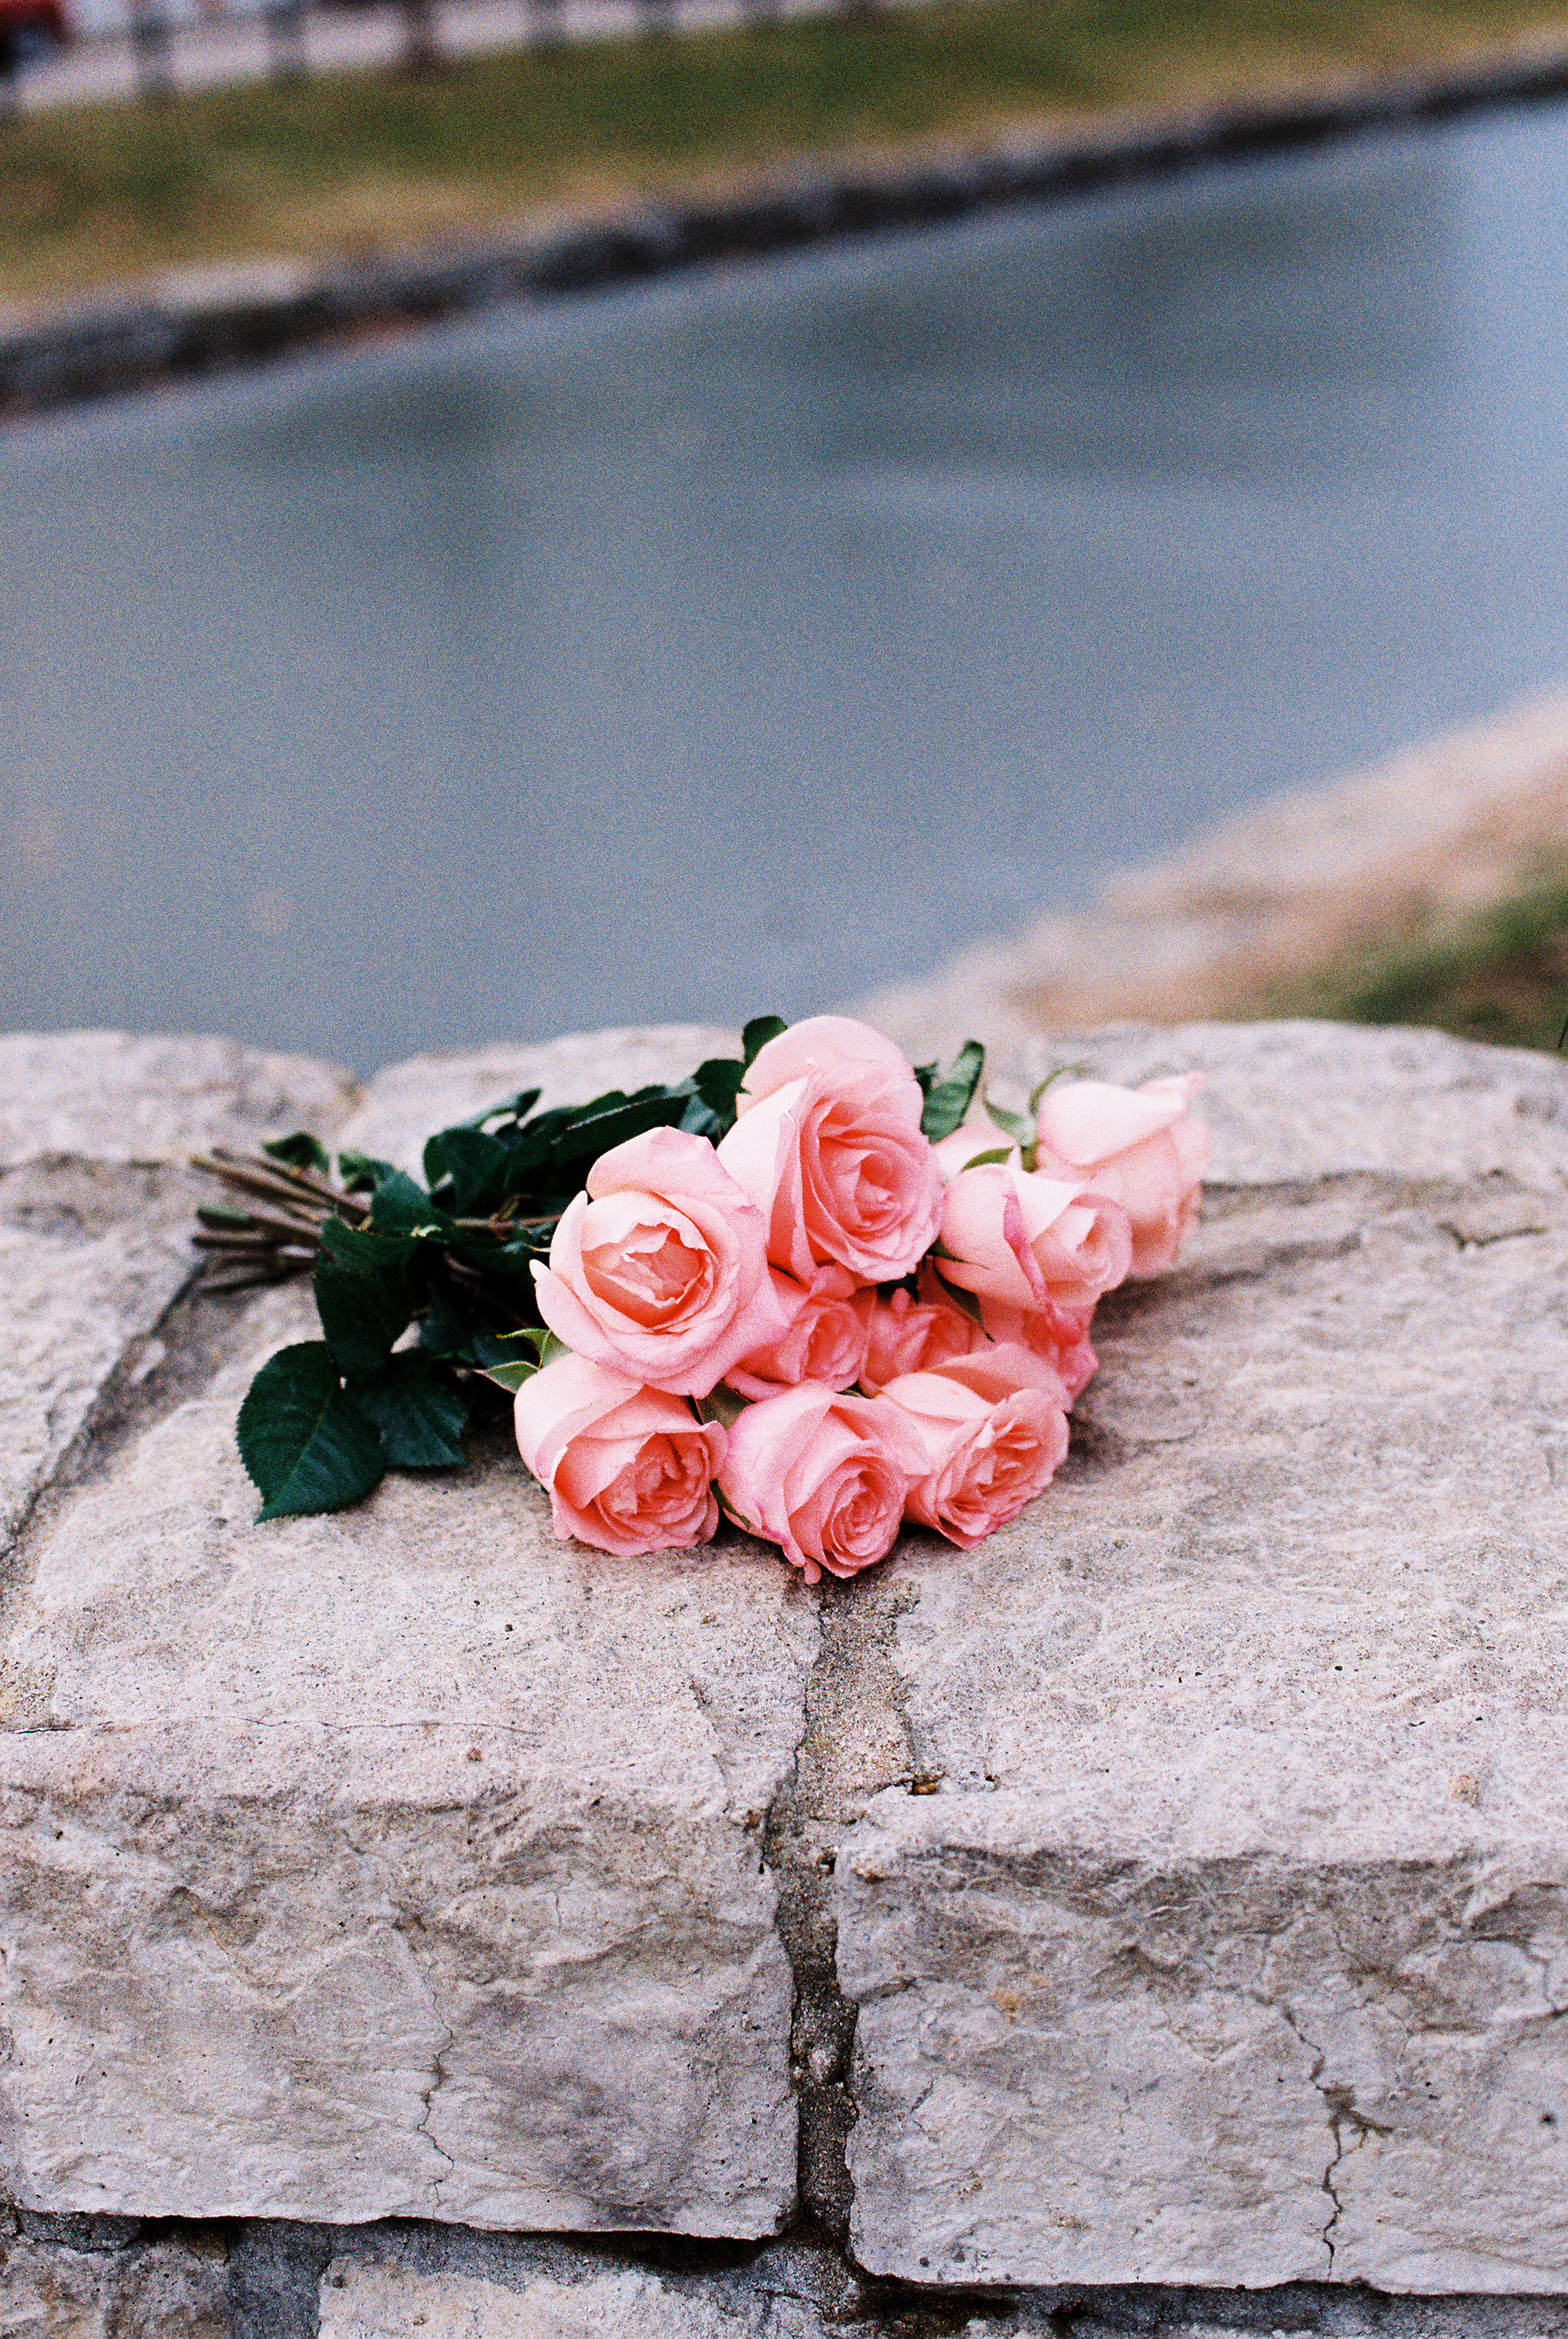
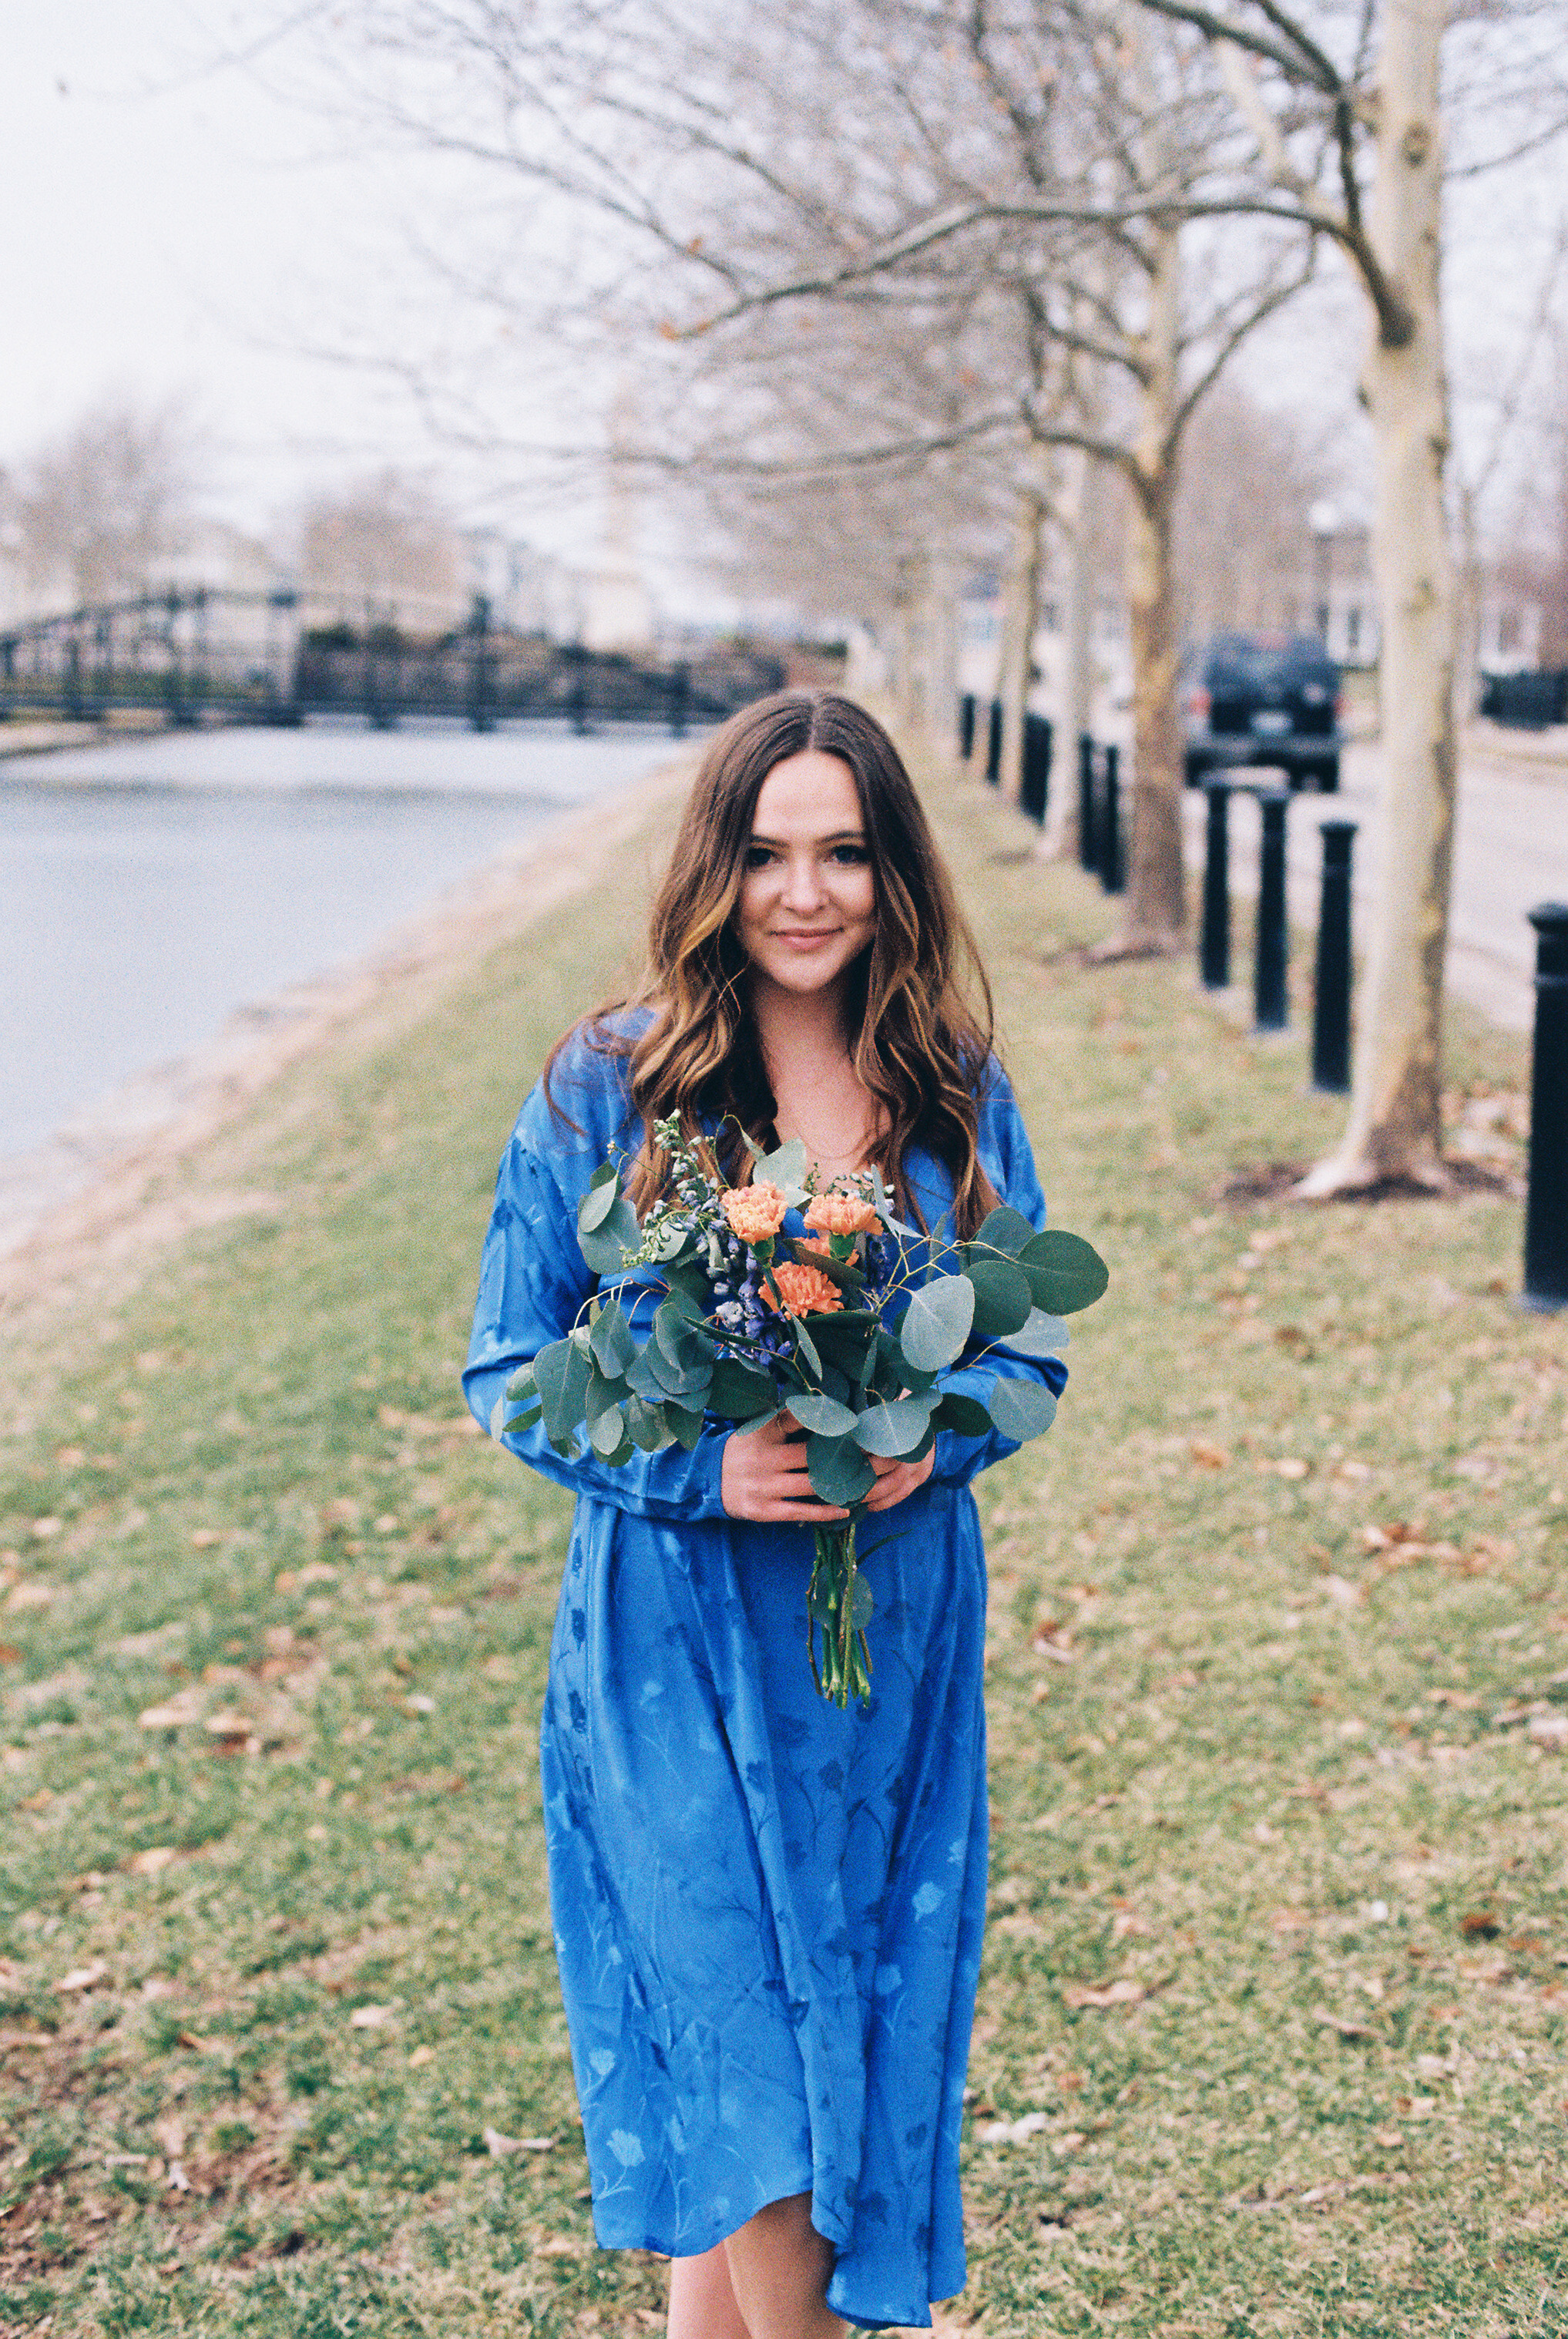
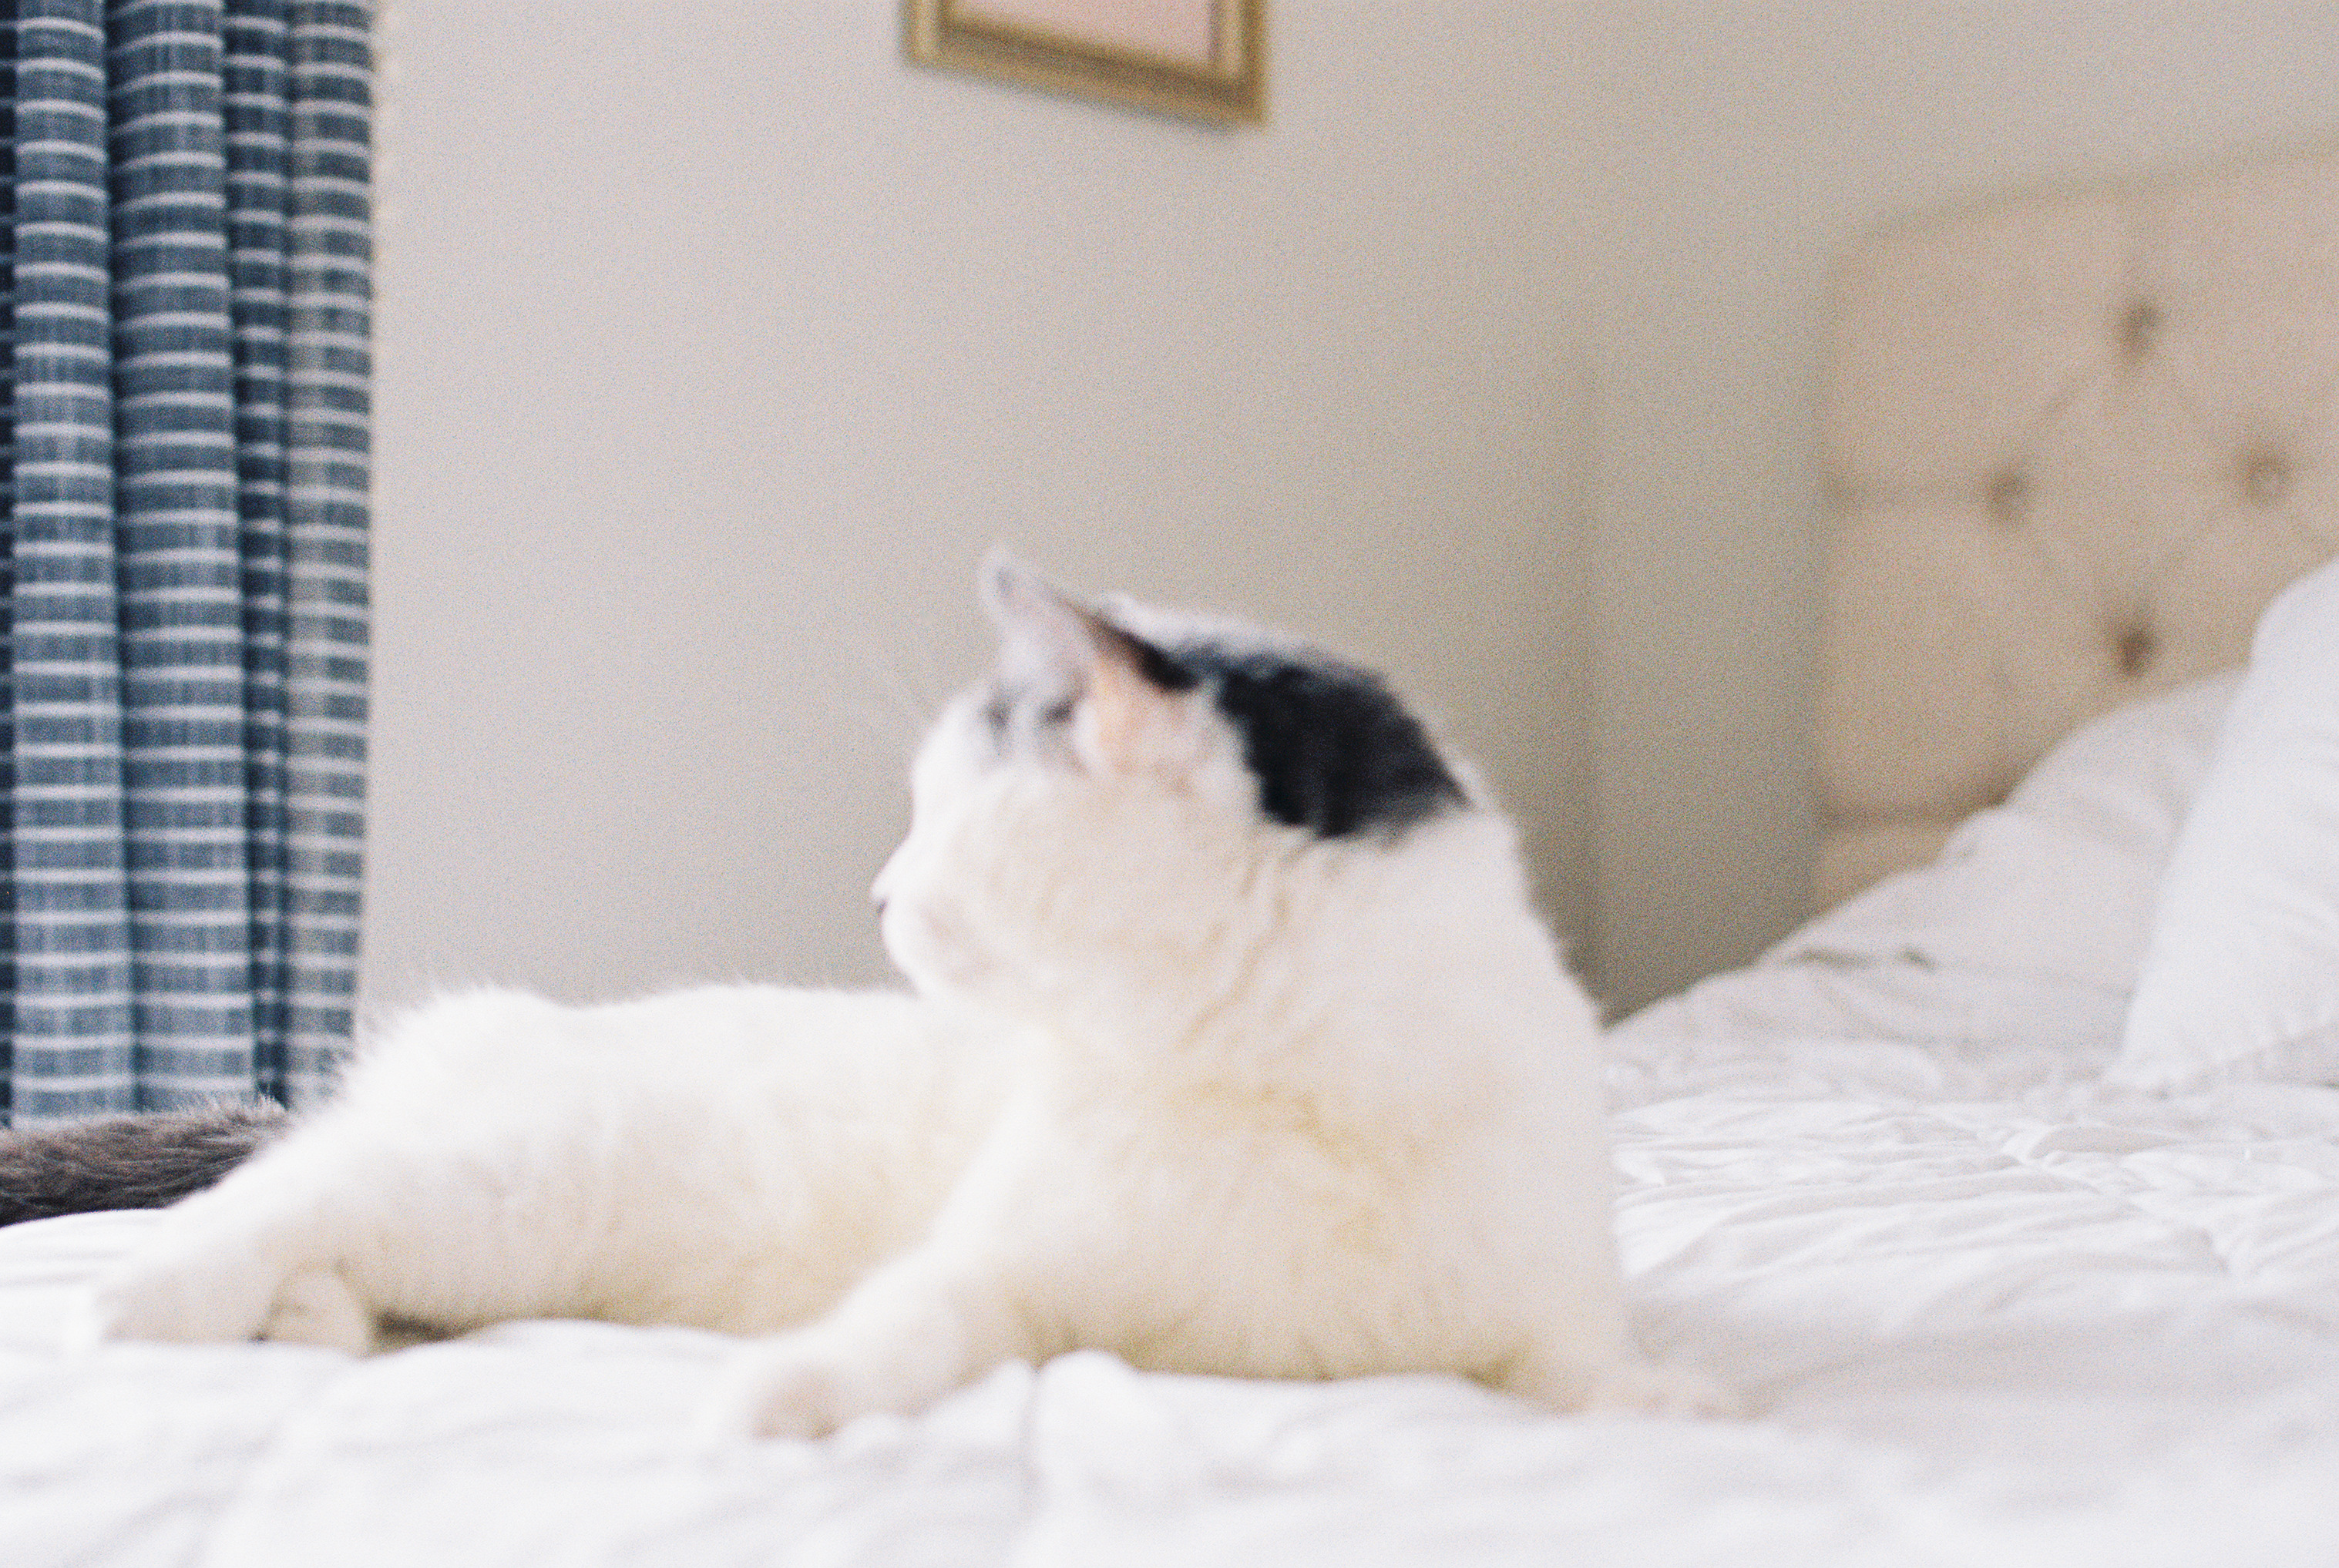
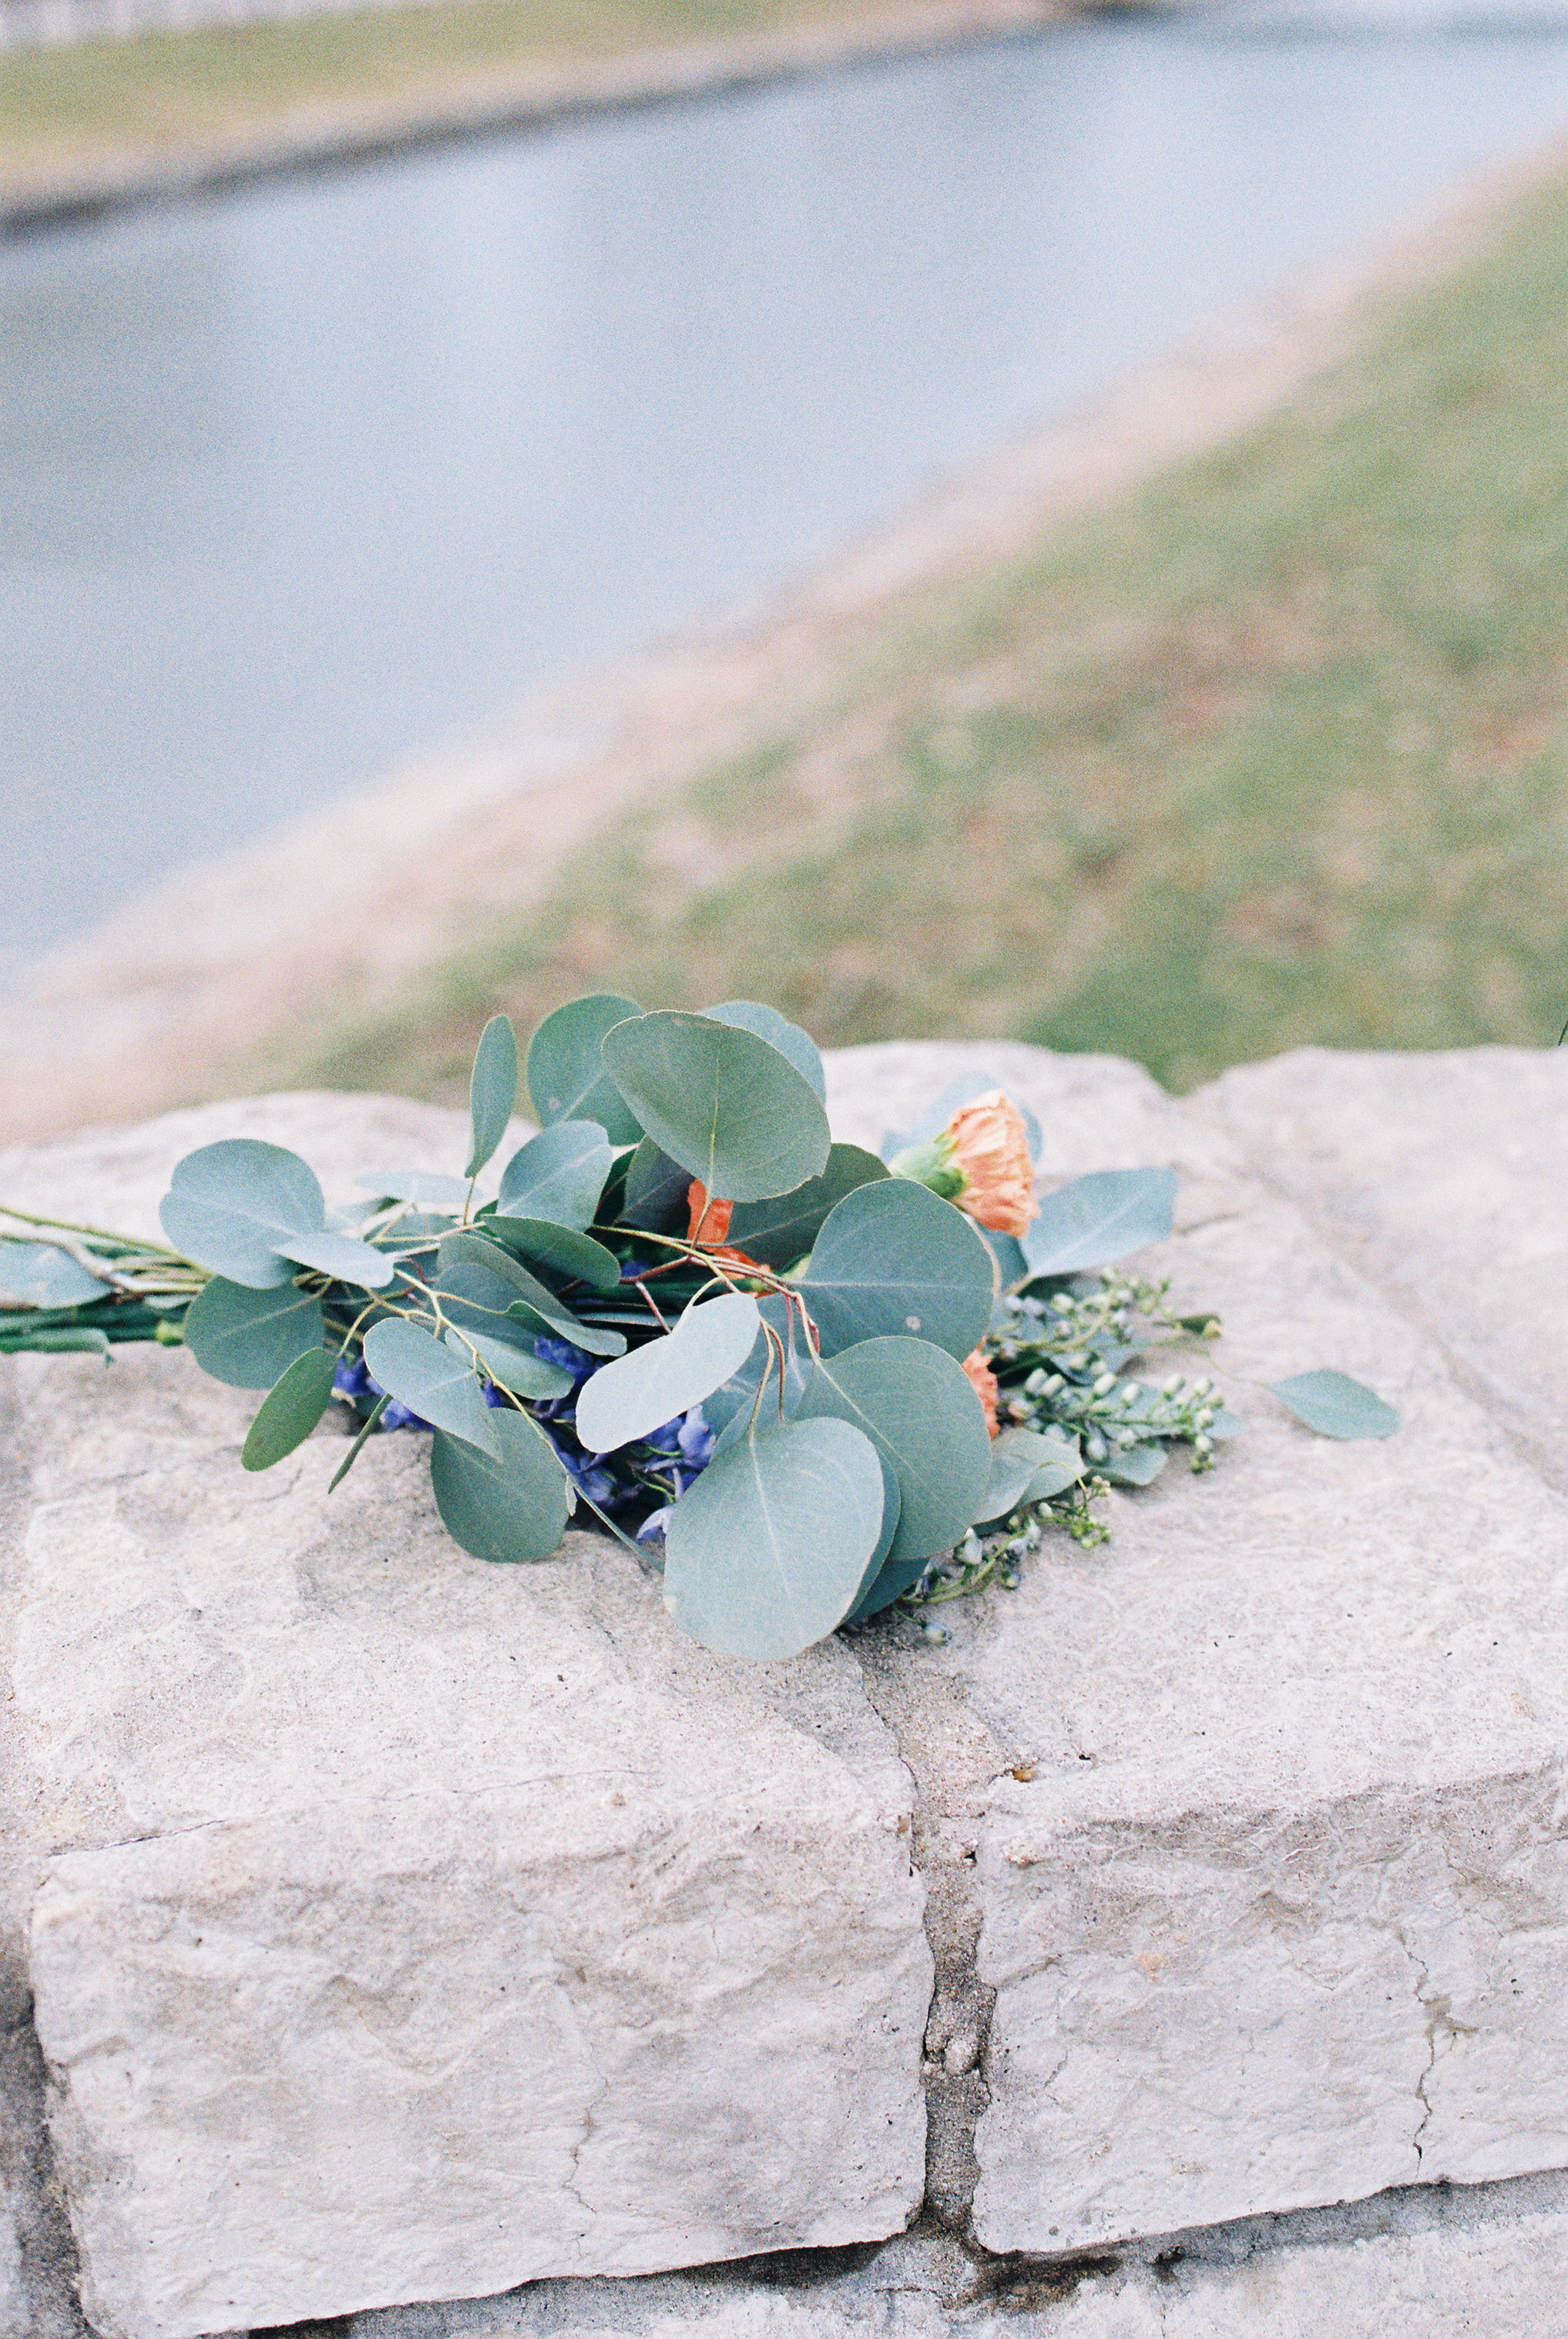
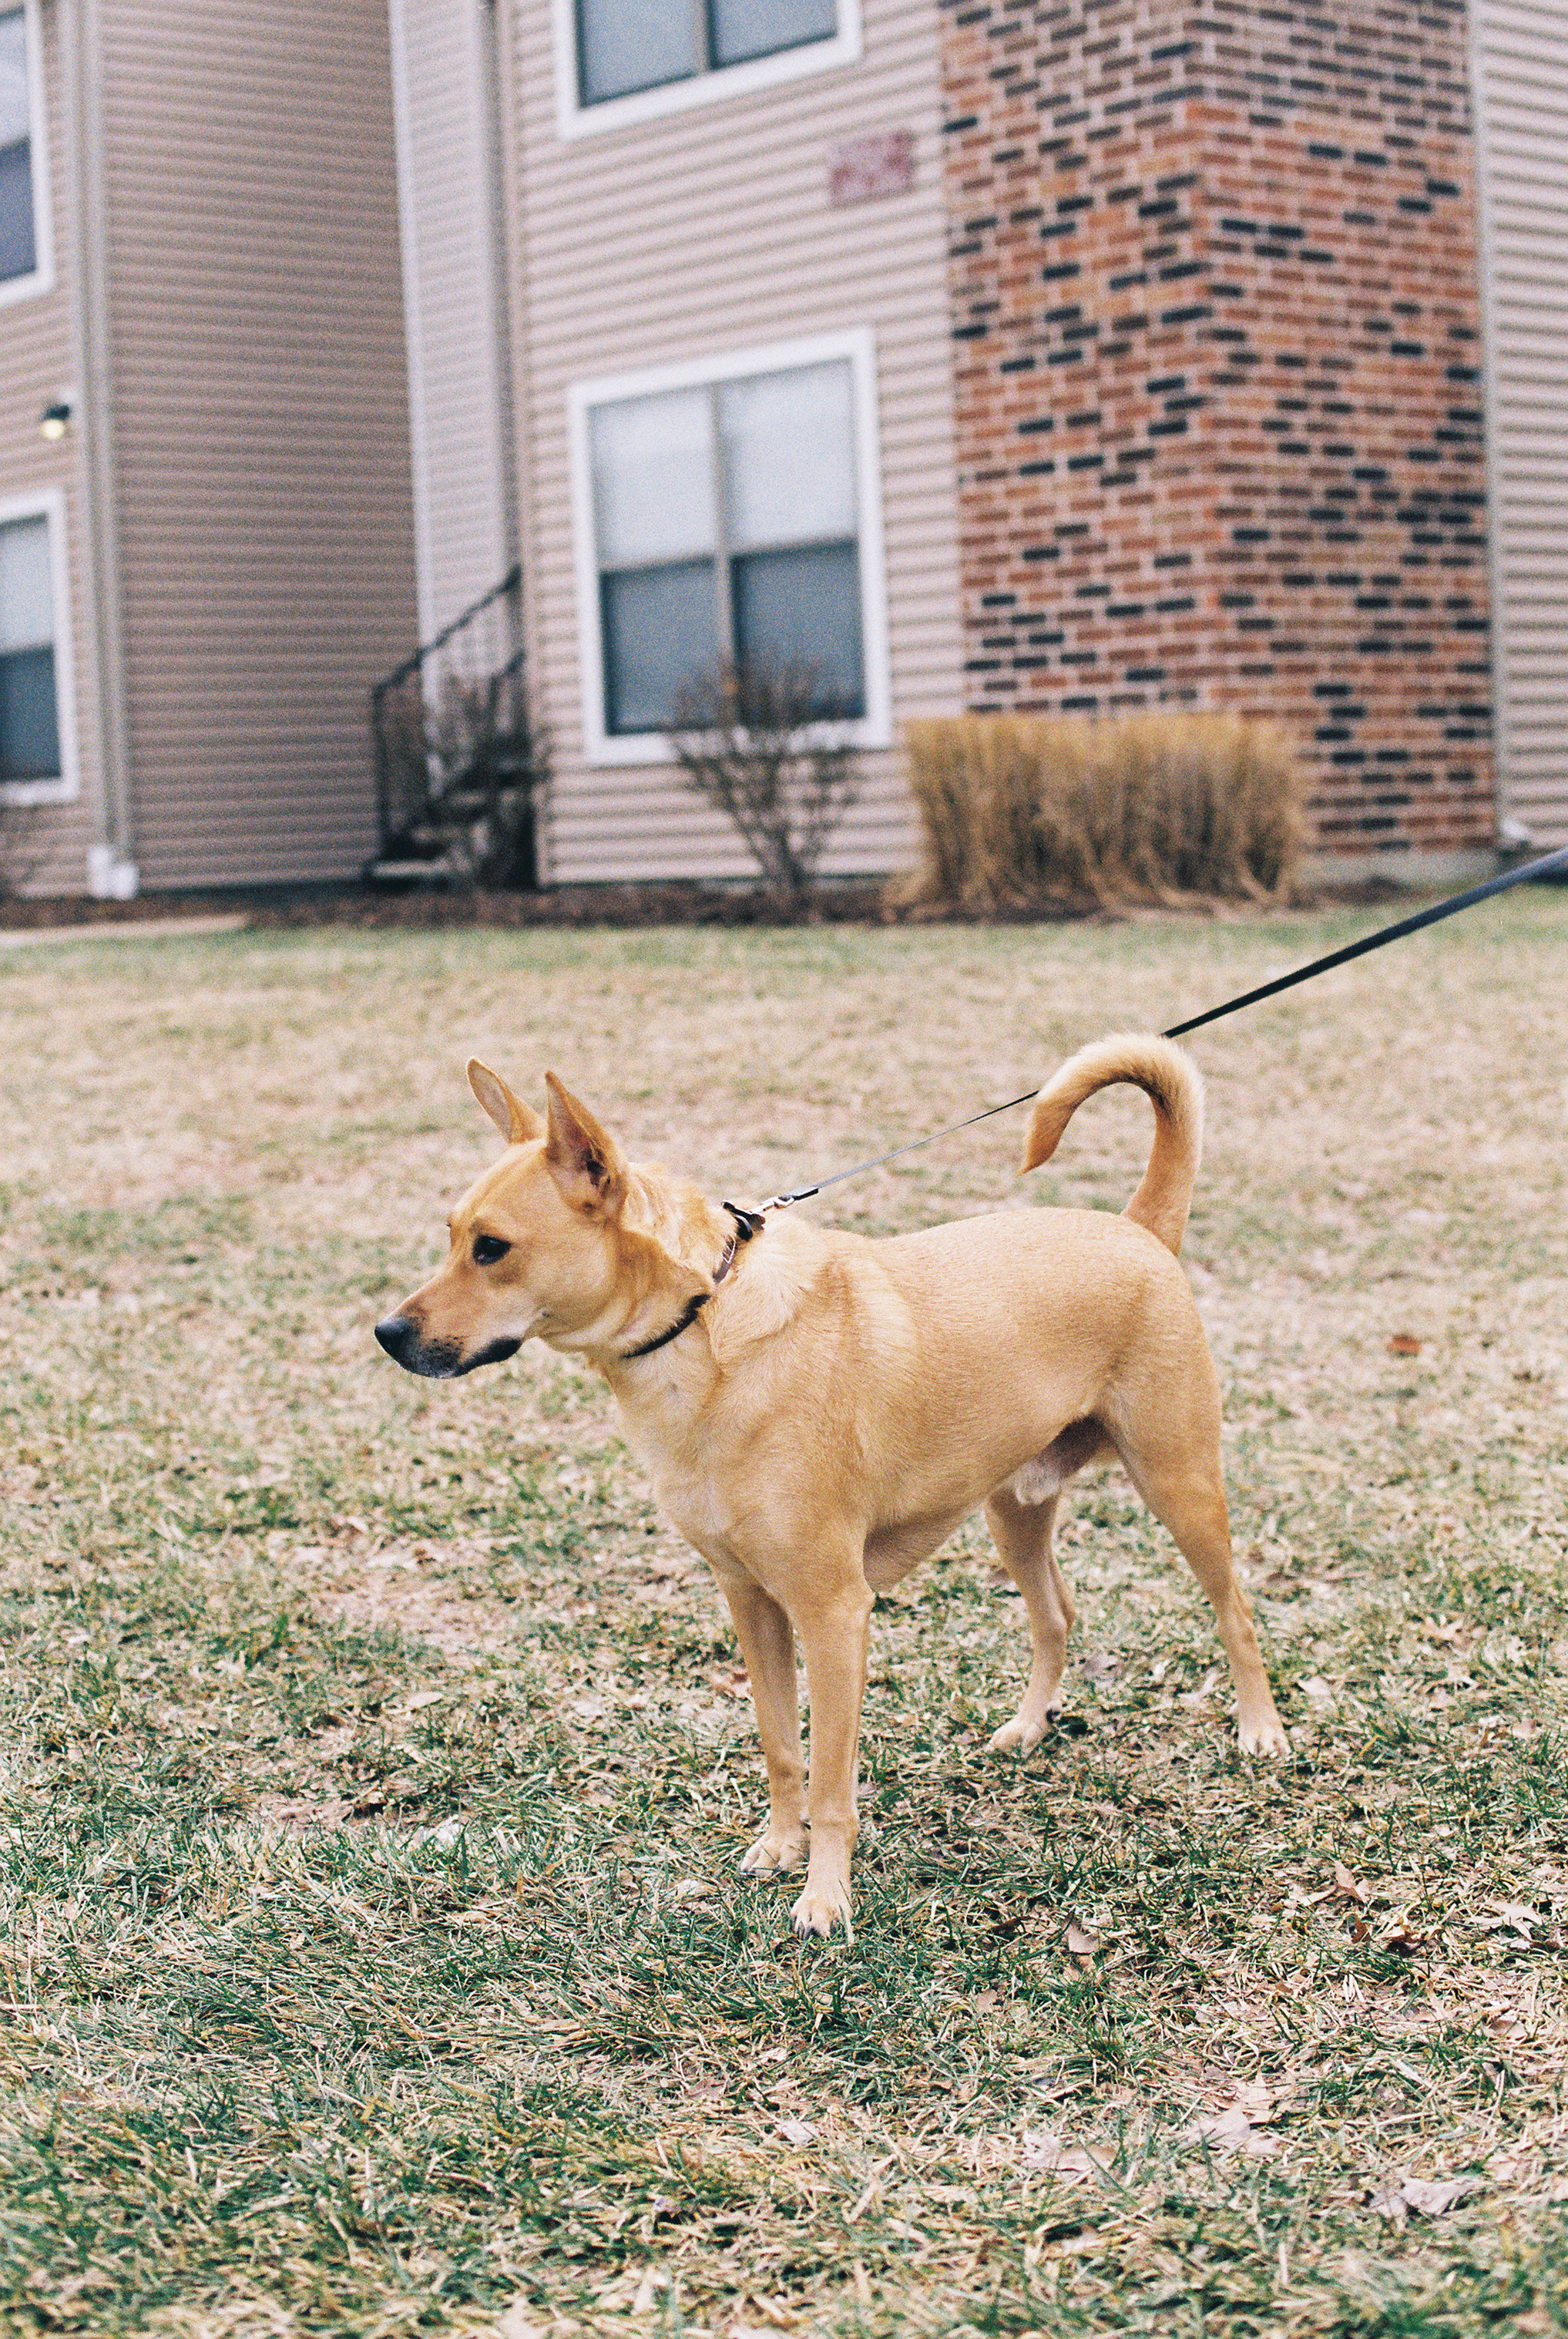
- Next, film! I would recommend trying out what’s called a ‘consumer stock’ film first. I absolutely LOVE Kodak Gold (what these photos were taken with!) and it’s going to be a lot cheaper than a professional film like Porta 400 or Fuji 400H. Amazon, Film Supply Club, or film labs like The Find Lab, or Richard Photo Lab are all great places to order film online.
- Now to get ready for your first shoot! Here’s a quick video on loading film into your camera: https://www.youtube.com/watch?v=CUFQZ3OLbHg&t=118s
- Be outside. Film is SO light hungry. It’s a total adjustment from digital. With digital photos, having too much light will ruin the photo. You can recover a dark image but the highlights can easily be lost. Film is definitely the opposite. A too-light photo can be recovered but a dark one not so much.
- Metering! This is a quick chart on what a light meter looks like – you should see it in your view finder when you half-click the shutter button to focus. There will be a line showing if your shot will be over or under exposed. For film I ALWAYS over expose at least 1.5 stops. You can use the meter in your camera, a light-metering app, or an external meter.

- Set your ISO to half of your film stock. When I shoot Portra 400 I set my ISO to 200 and still meter +1.5 stops at least. For my first roll I set my aperture to 3.0 and I regretted it – I love nothing more that a good bokeh. As long as your comfortable that you’ll get the focus, go ahead and lower it. This will allow for more light + a nice blurred background.
- Take photos of everything. Test different exposures. Test different backdrops, different colors, take photos in the shadows and in the sunlight. But definitely, definitely shoot your DSLR at the same time. It’s so interesting to see how the film and digital photos compare but it also makes it much easier to shoot a photo and see it on your screen, adjust composition and once you have it right to then shoot it on film.
- Okay your roll is full! Unload it from your camera and get it ready to ship to a lab. I ordered this pack of yellow shipping envelopes and they’ve worked amazingly. It’s super super convenient to have them easily accessible whenever I’m ready to send off my film. Just drop your film in along with the order form and write your address along with the lab’s address on the outside and drop it at the post office.
- Okay but what lab to send it to? For your first roll I would recommend The Find Lab! They have an amazing option called Basic + where they will scan your photos and then when they send them to you they’ll also include super helpful feedback. For example, the focus was off on a few of the photos from my first roll so they included a blog post I could read on how to make sure I’m always nailing the focus.
And there you have it! Everything I learned from shooting my first roll and all of the information I wish I could have easily read in one place. If you have any questions at all, drop them in the comments! I will definitely be doing a follow-up post on what I’ve continued to learn from my second, third, fourth rolls, etc.
This article by Mastin Labs is also extremely helpful if you’re just getting started!
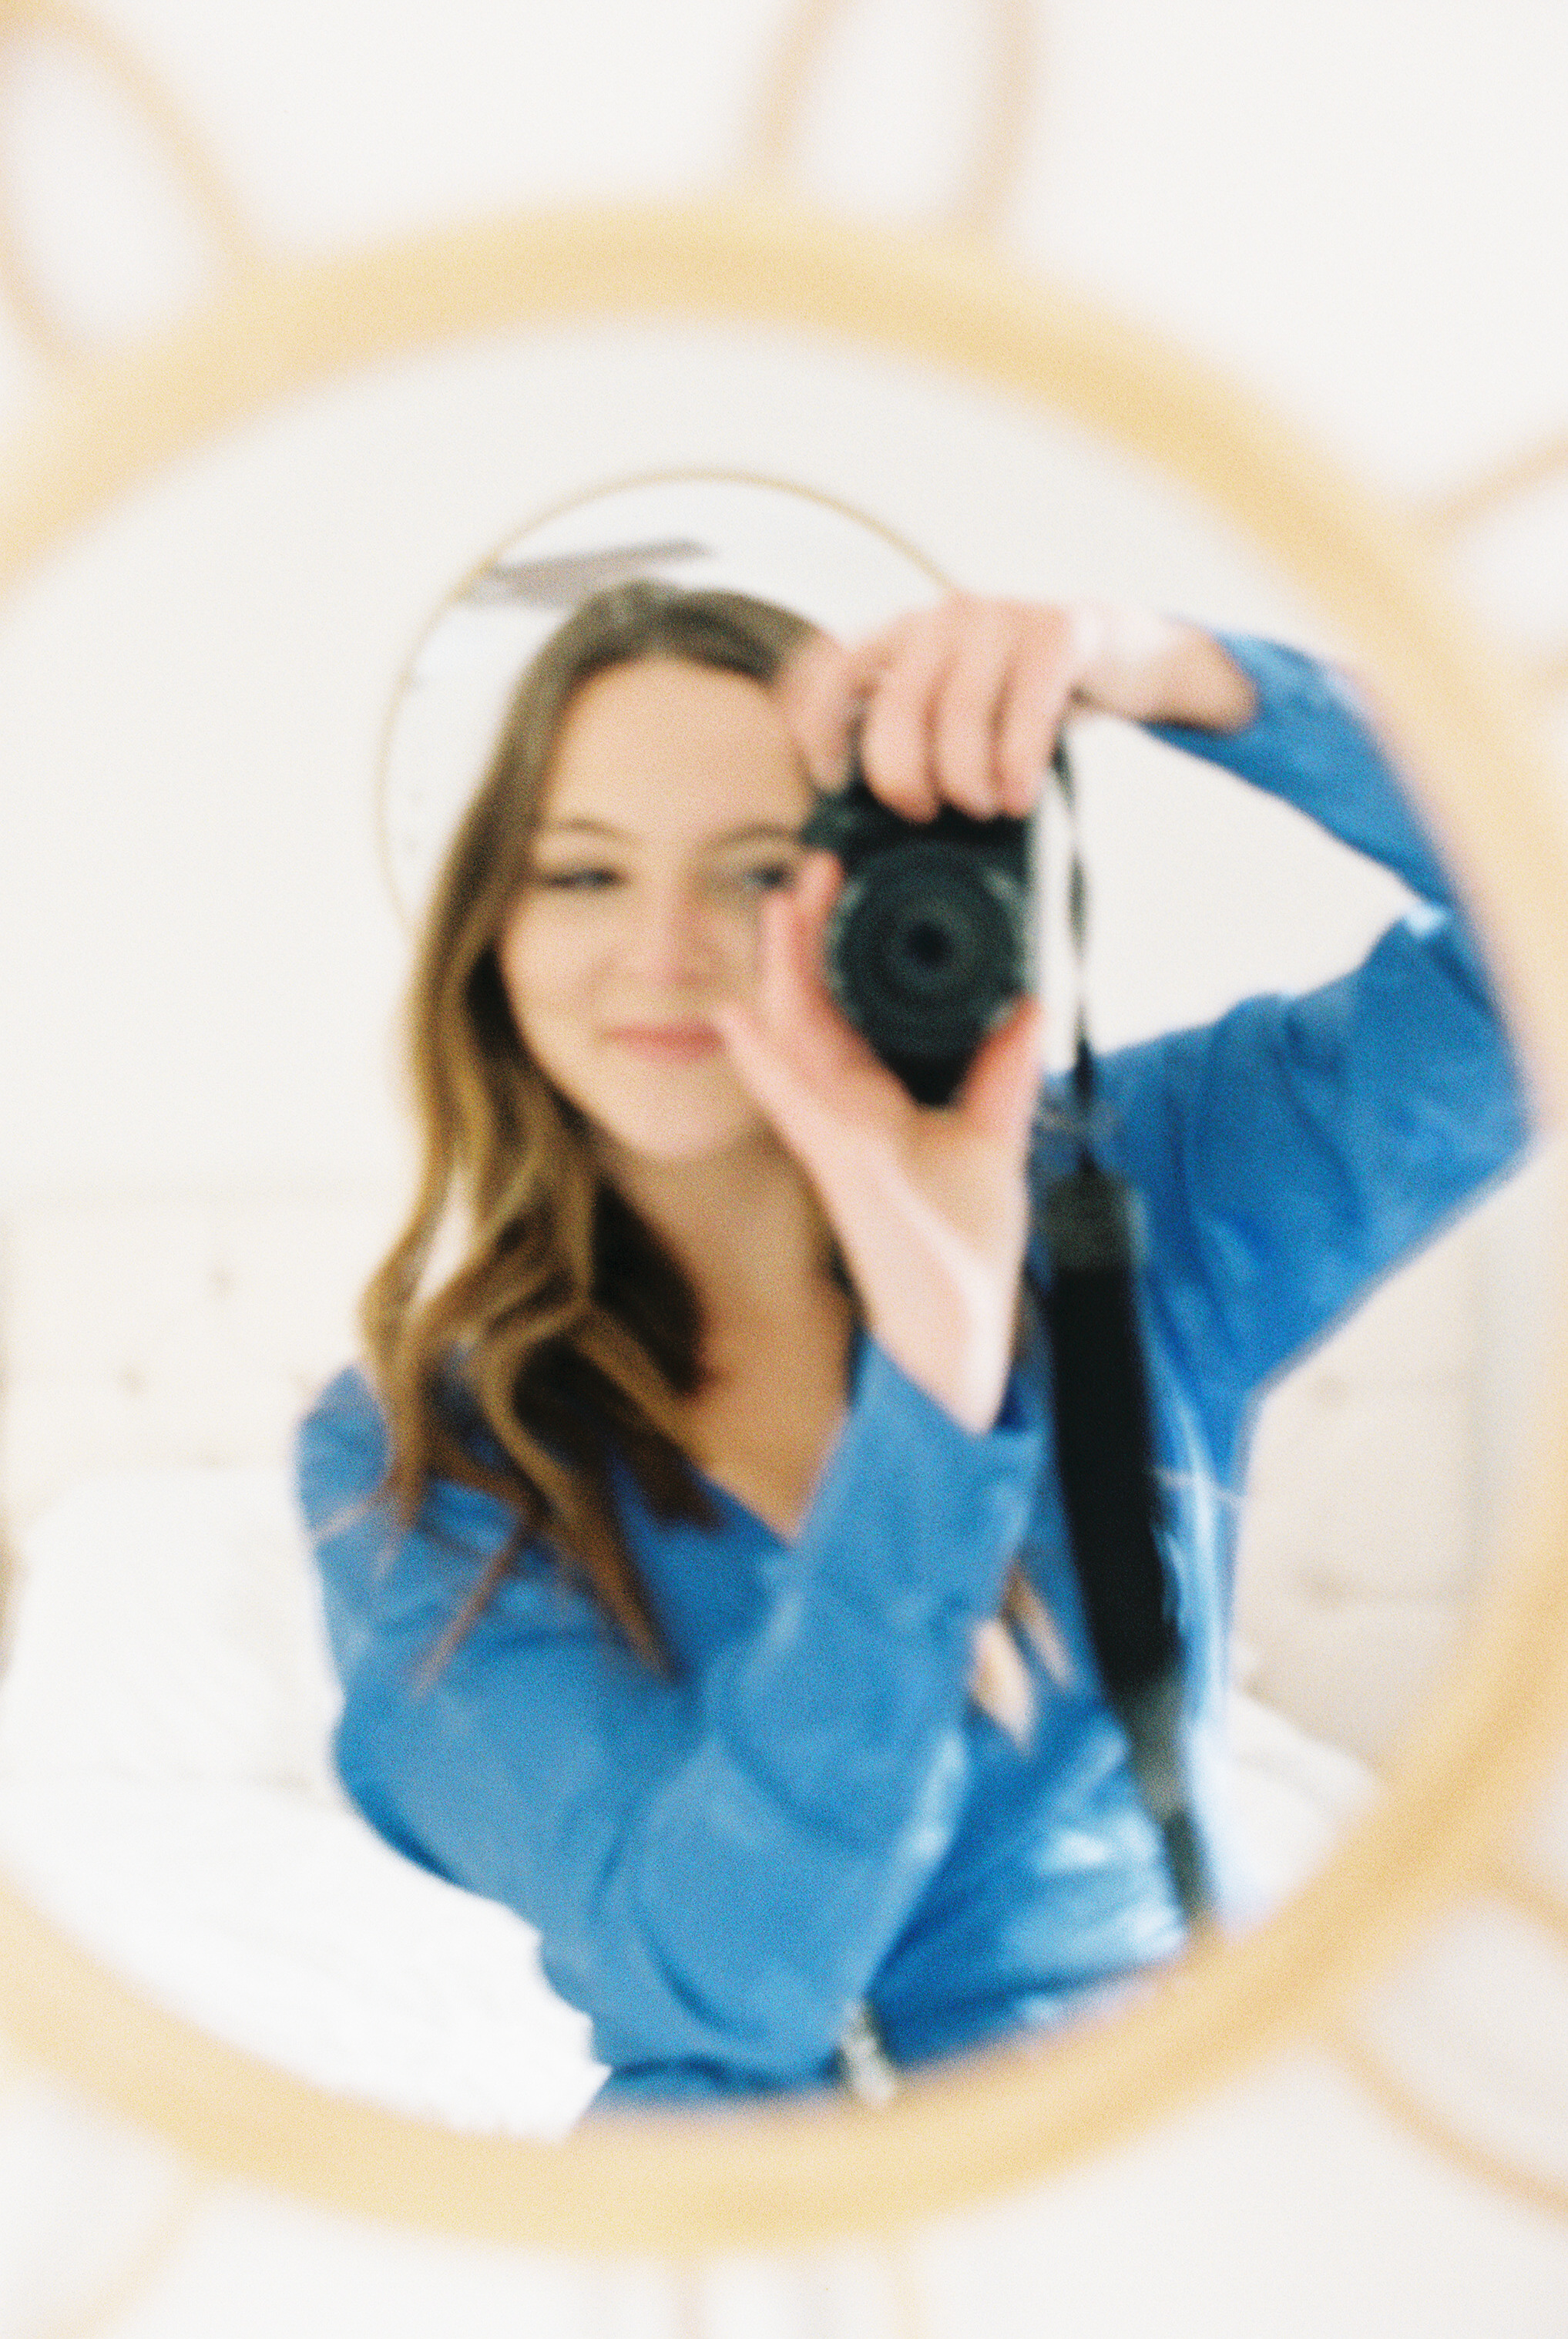
Scroll to see the rest of my favorite photos from that very first roll!
PLEASE COMMENT BELOW